Container for inverted microscopes
Construction manual for microscopy container for inverted fluorescence microscopes (getting closer to the objective)
Purpose
When imaging amber specimens under high magnifications in an inverse microscope (especially using oil immersion), the adjustable focal plane can be limited to an unfortunate amount and the specimen may lie so deep in the resin that the adjustable focal plane does not cover the whole specimen (Figure 1). However, this limit of the focal plane can be created by the design of the microscope rather than by the sheer physical distance between the lens of the objective and the amber piece. To overcome this limitation, a deeper window can be created that is not restricted by the position of the microscope table (Figure 2).


What is needed?
- regular sized plastic petri dish
- smaller plastic petri dish that fits through the opening of the microscopy table
- extra large cover slips (more than are actually needed, tend to break)
- silicone and a dispenser for it
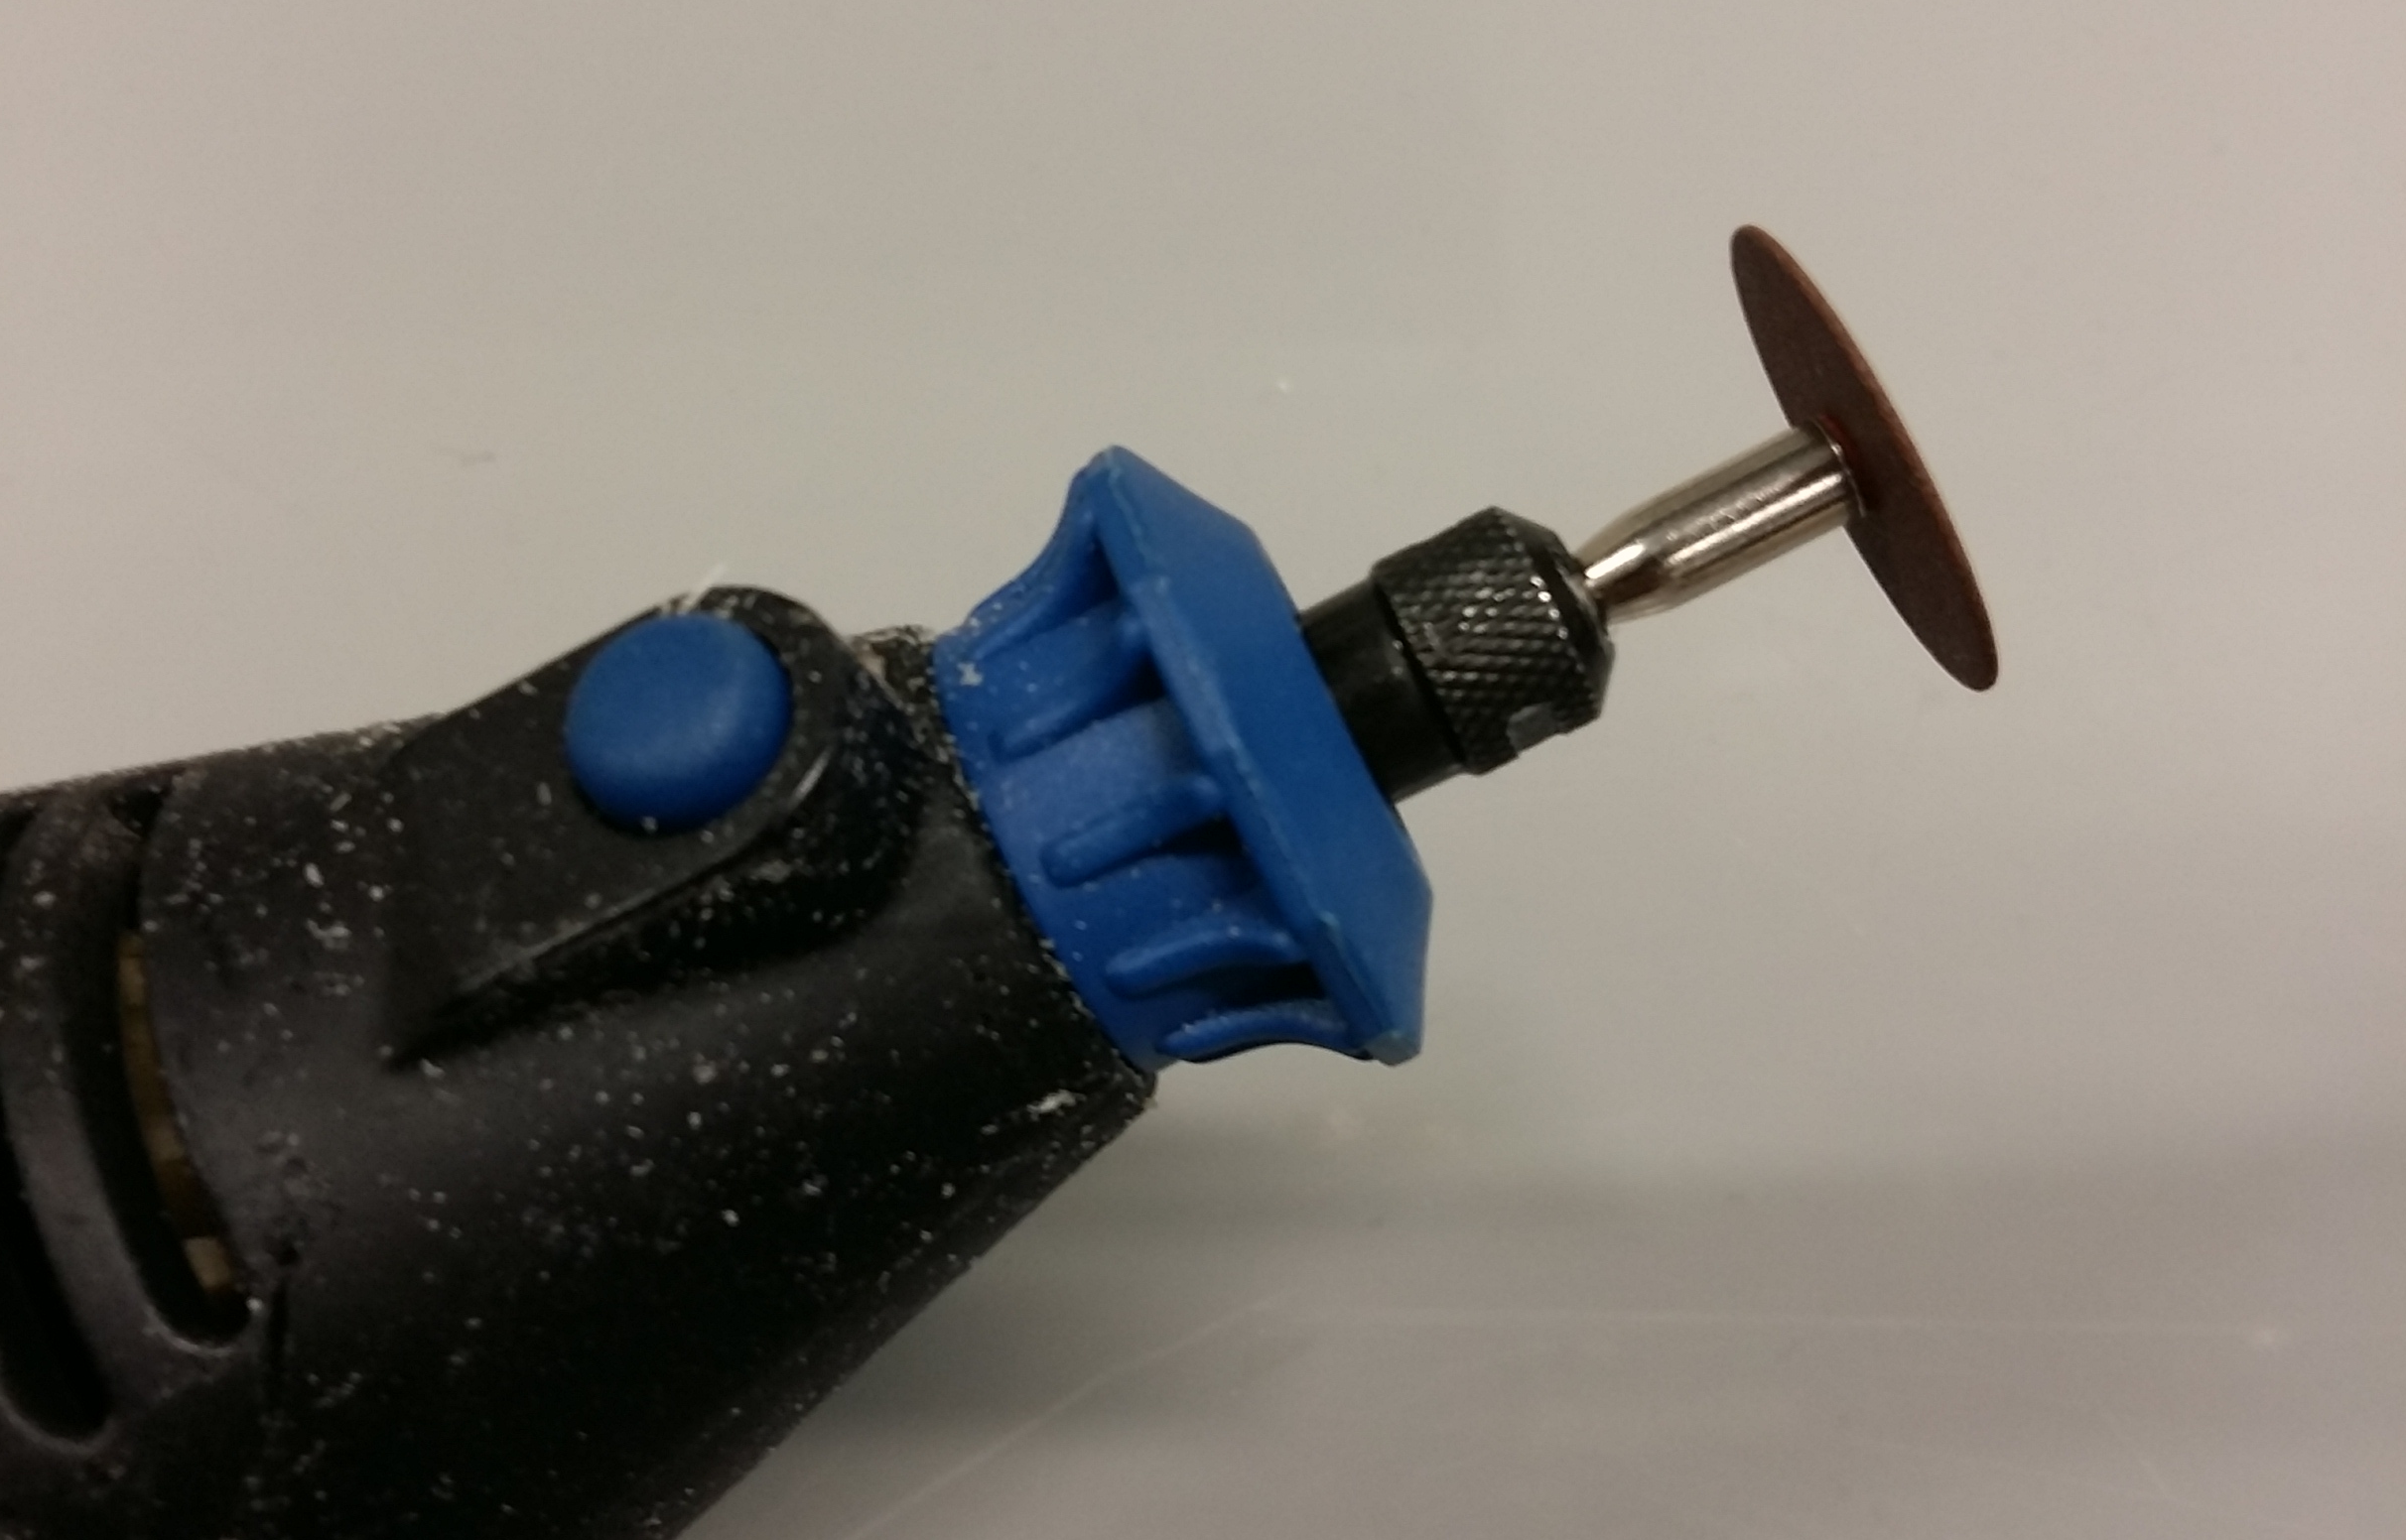
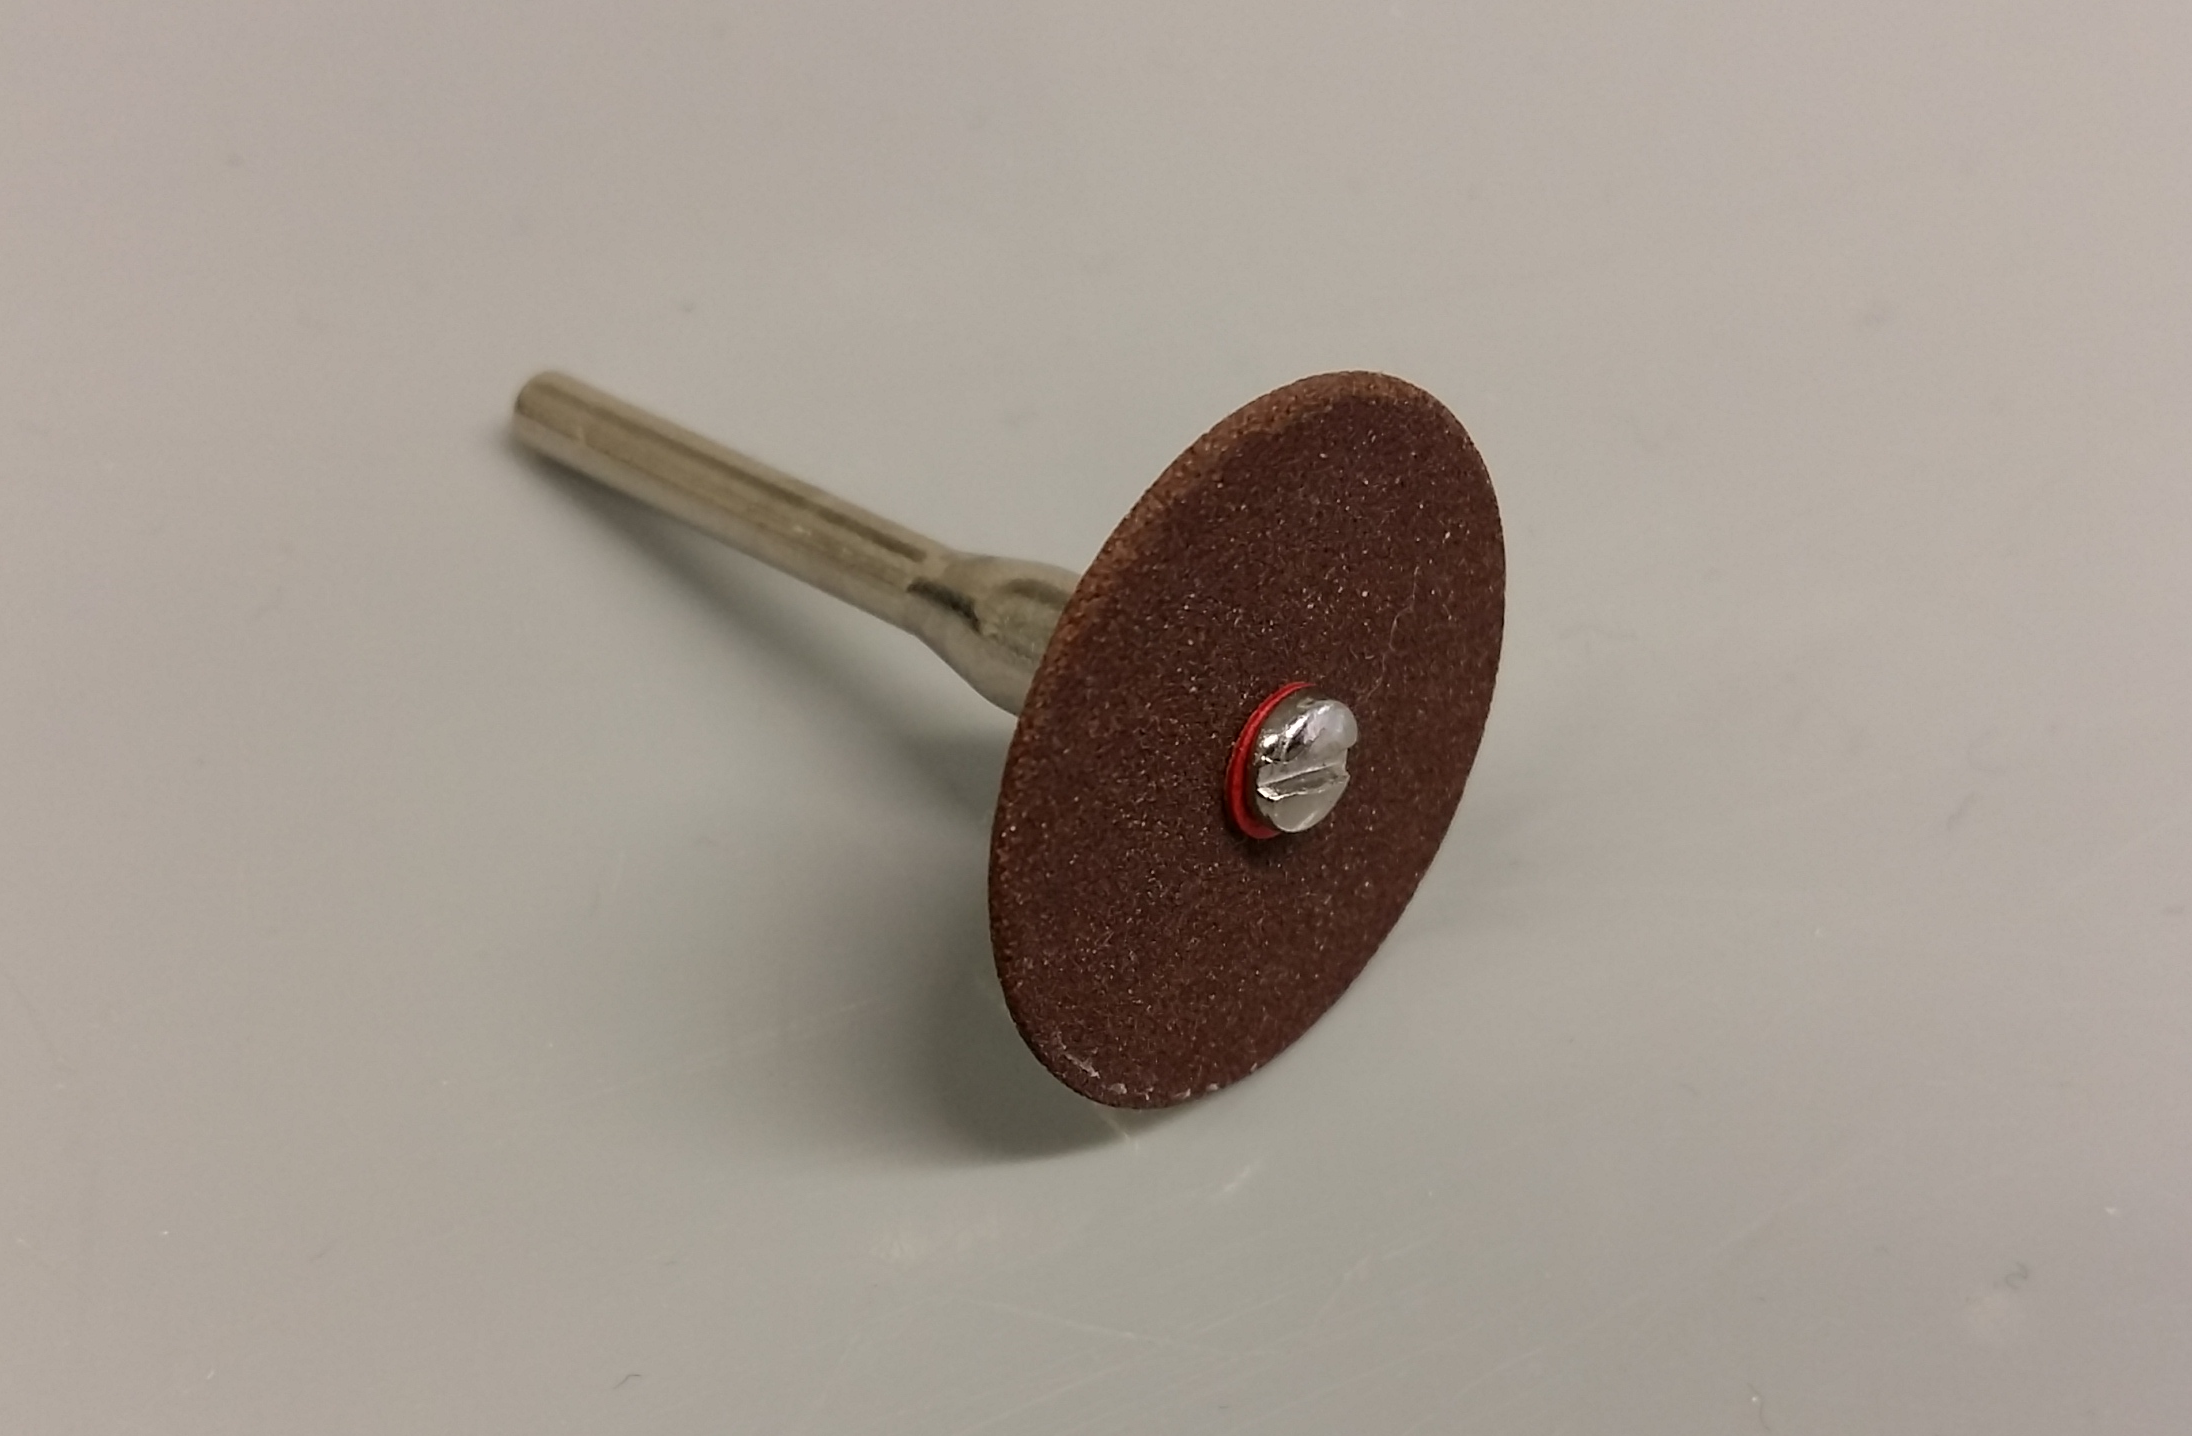
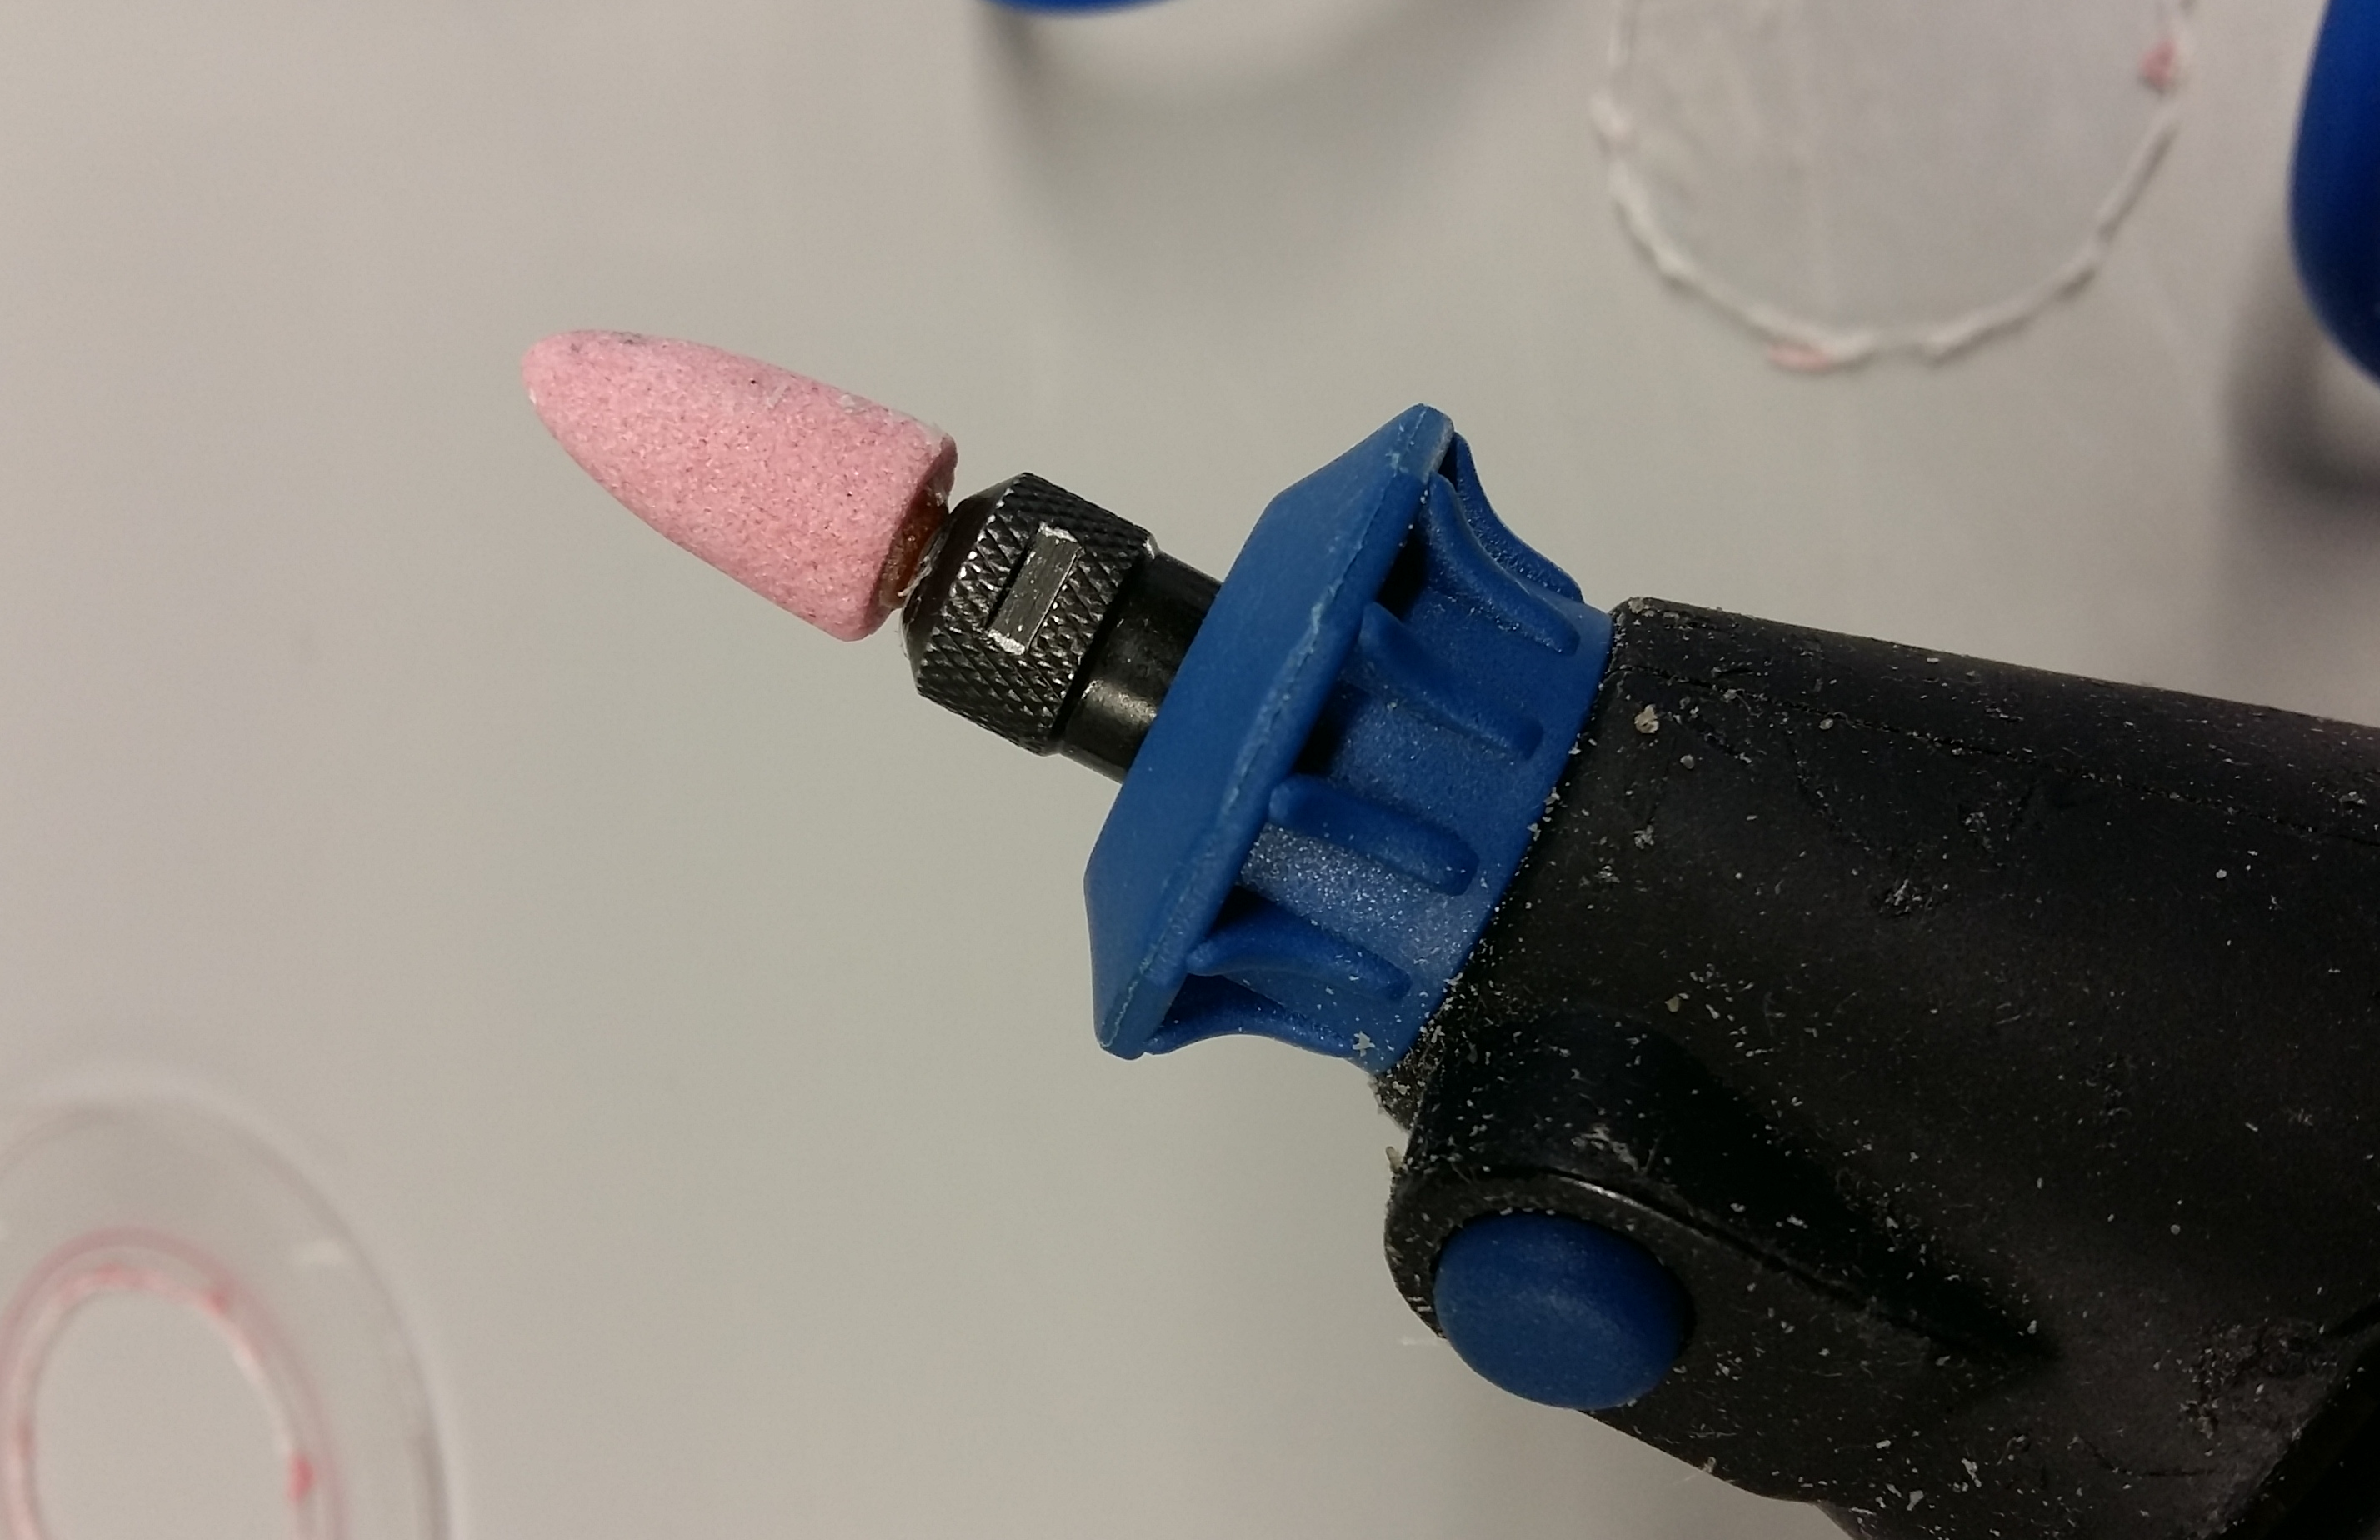
- a multipurpose rotary tool with cutting and grinding attachments
- diamond pen (for carving or writing on glass)
- a thin permanent marker
- a piece of regular printer paper
Step 1
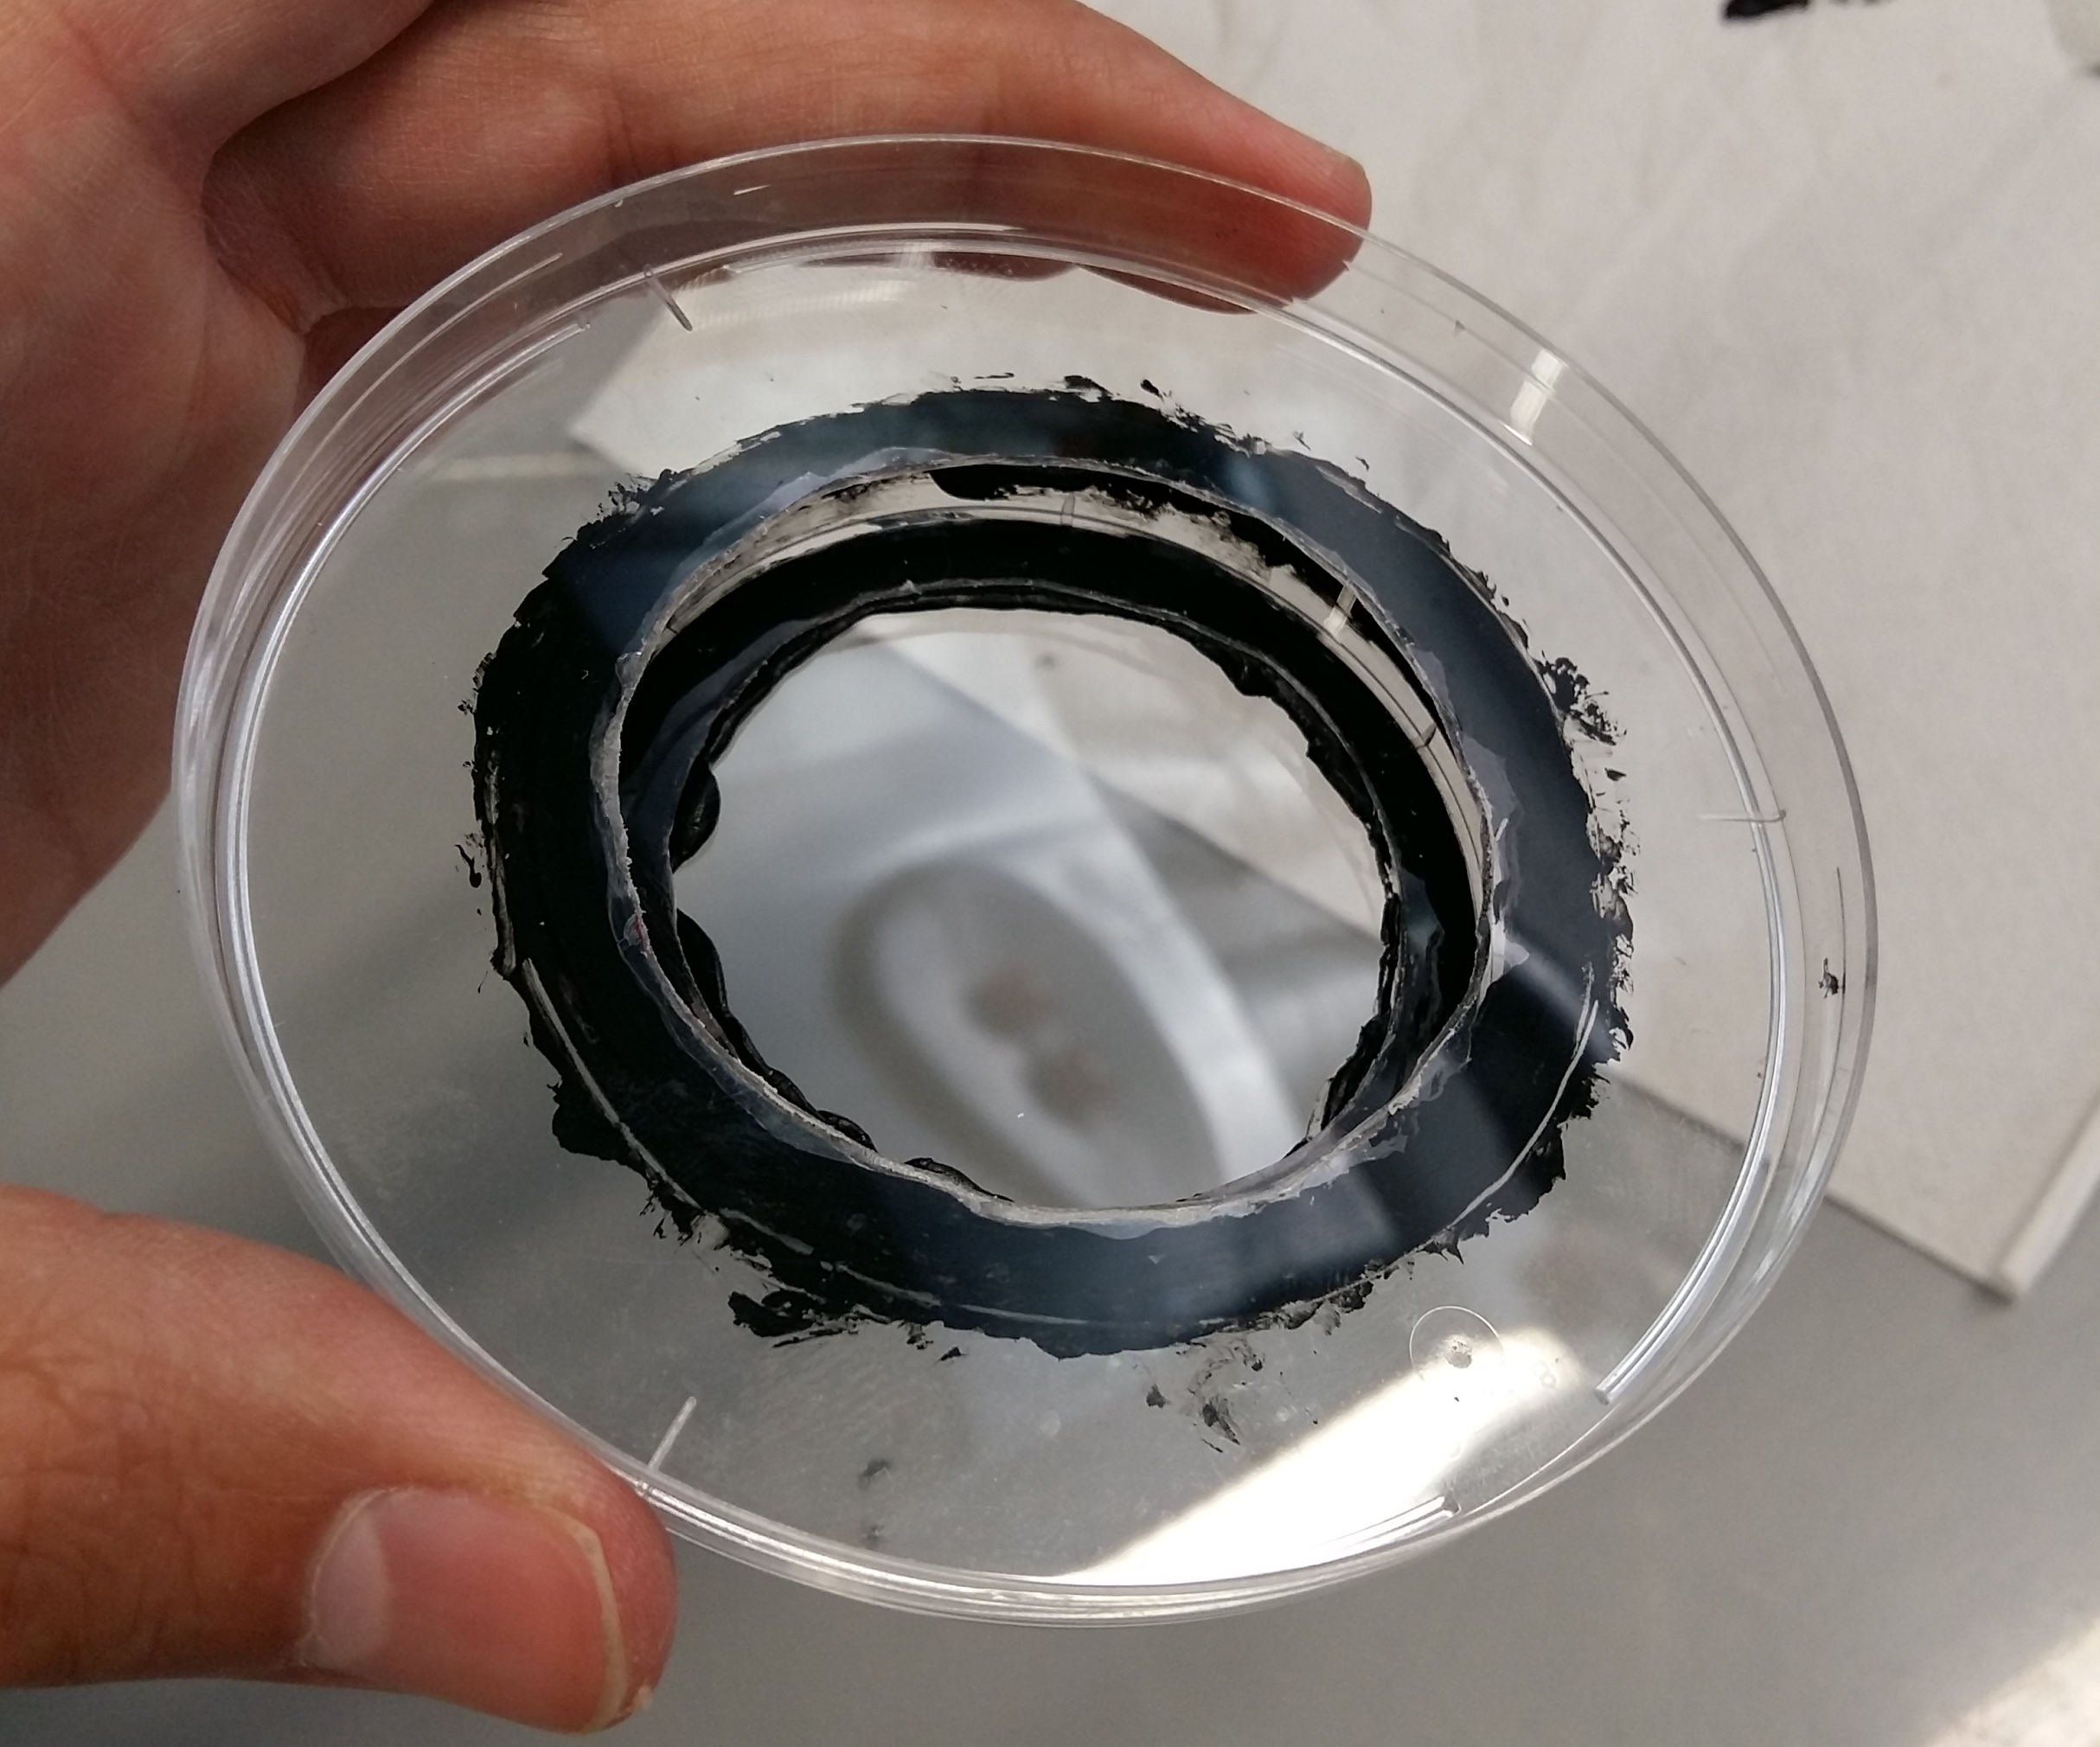
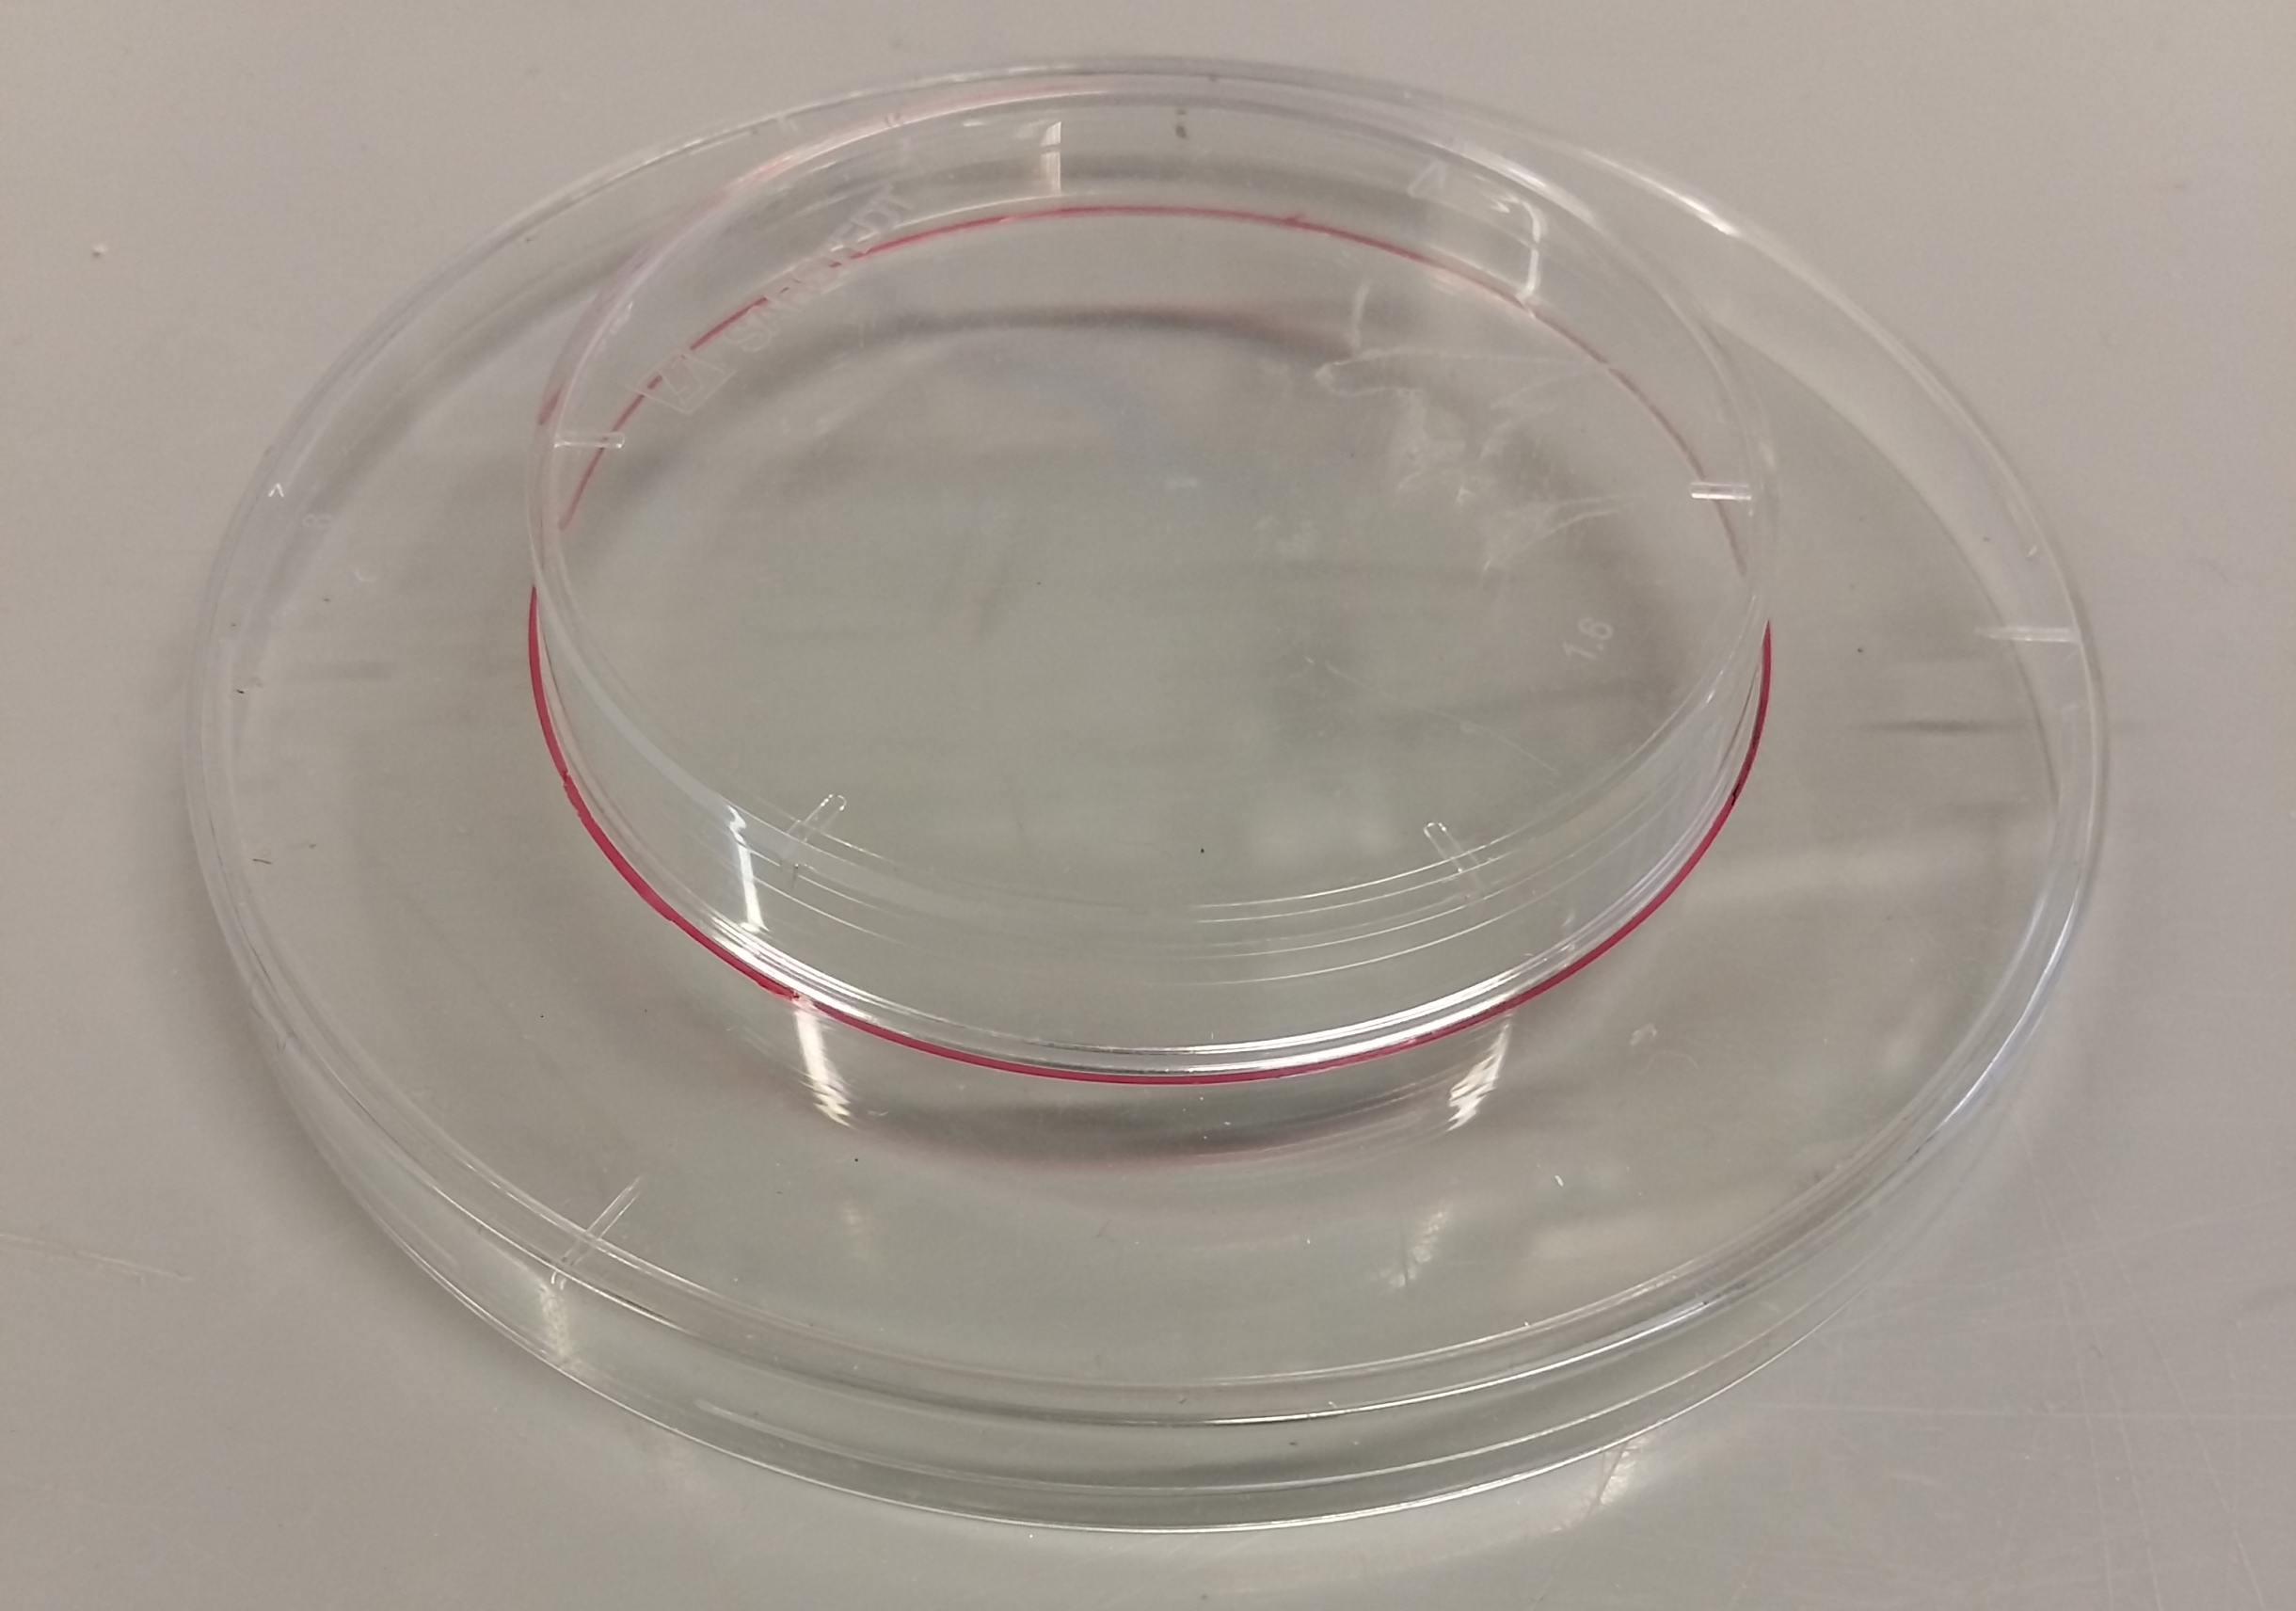
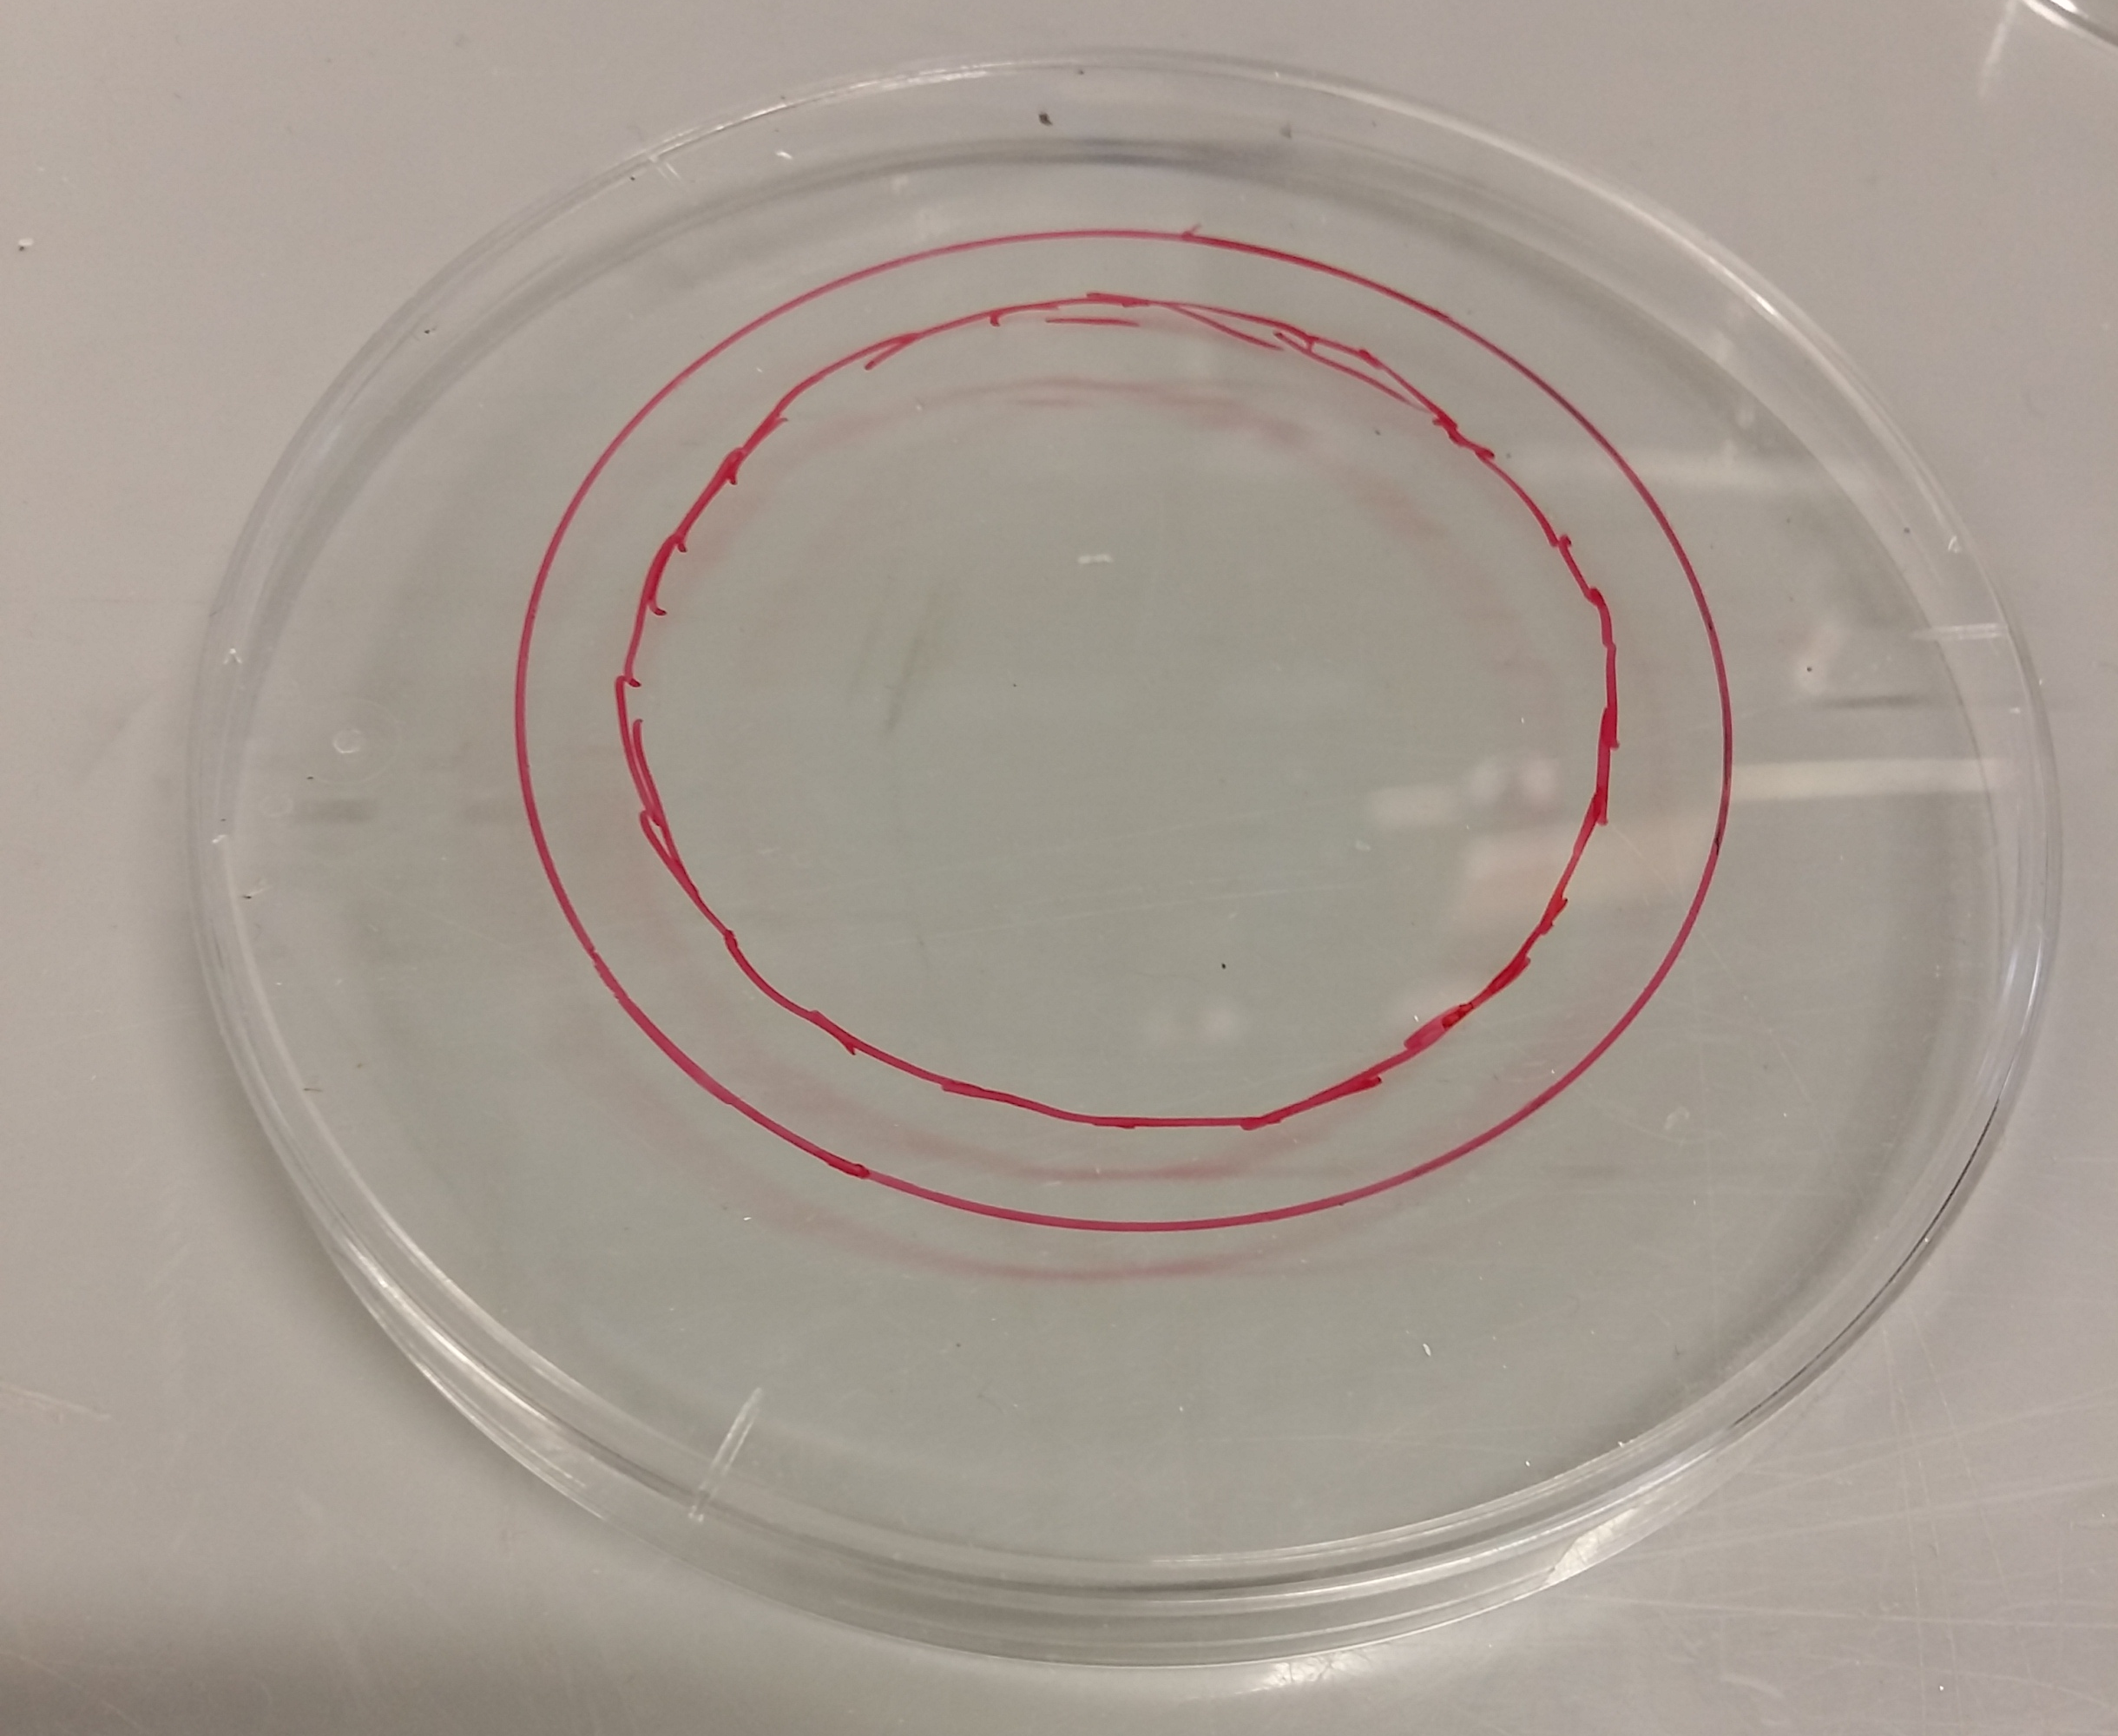
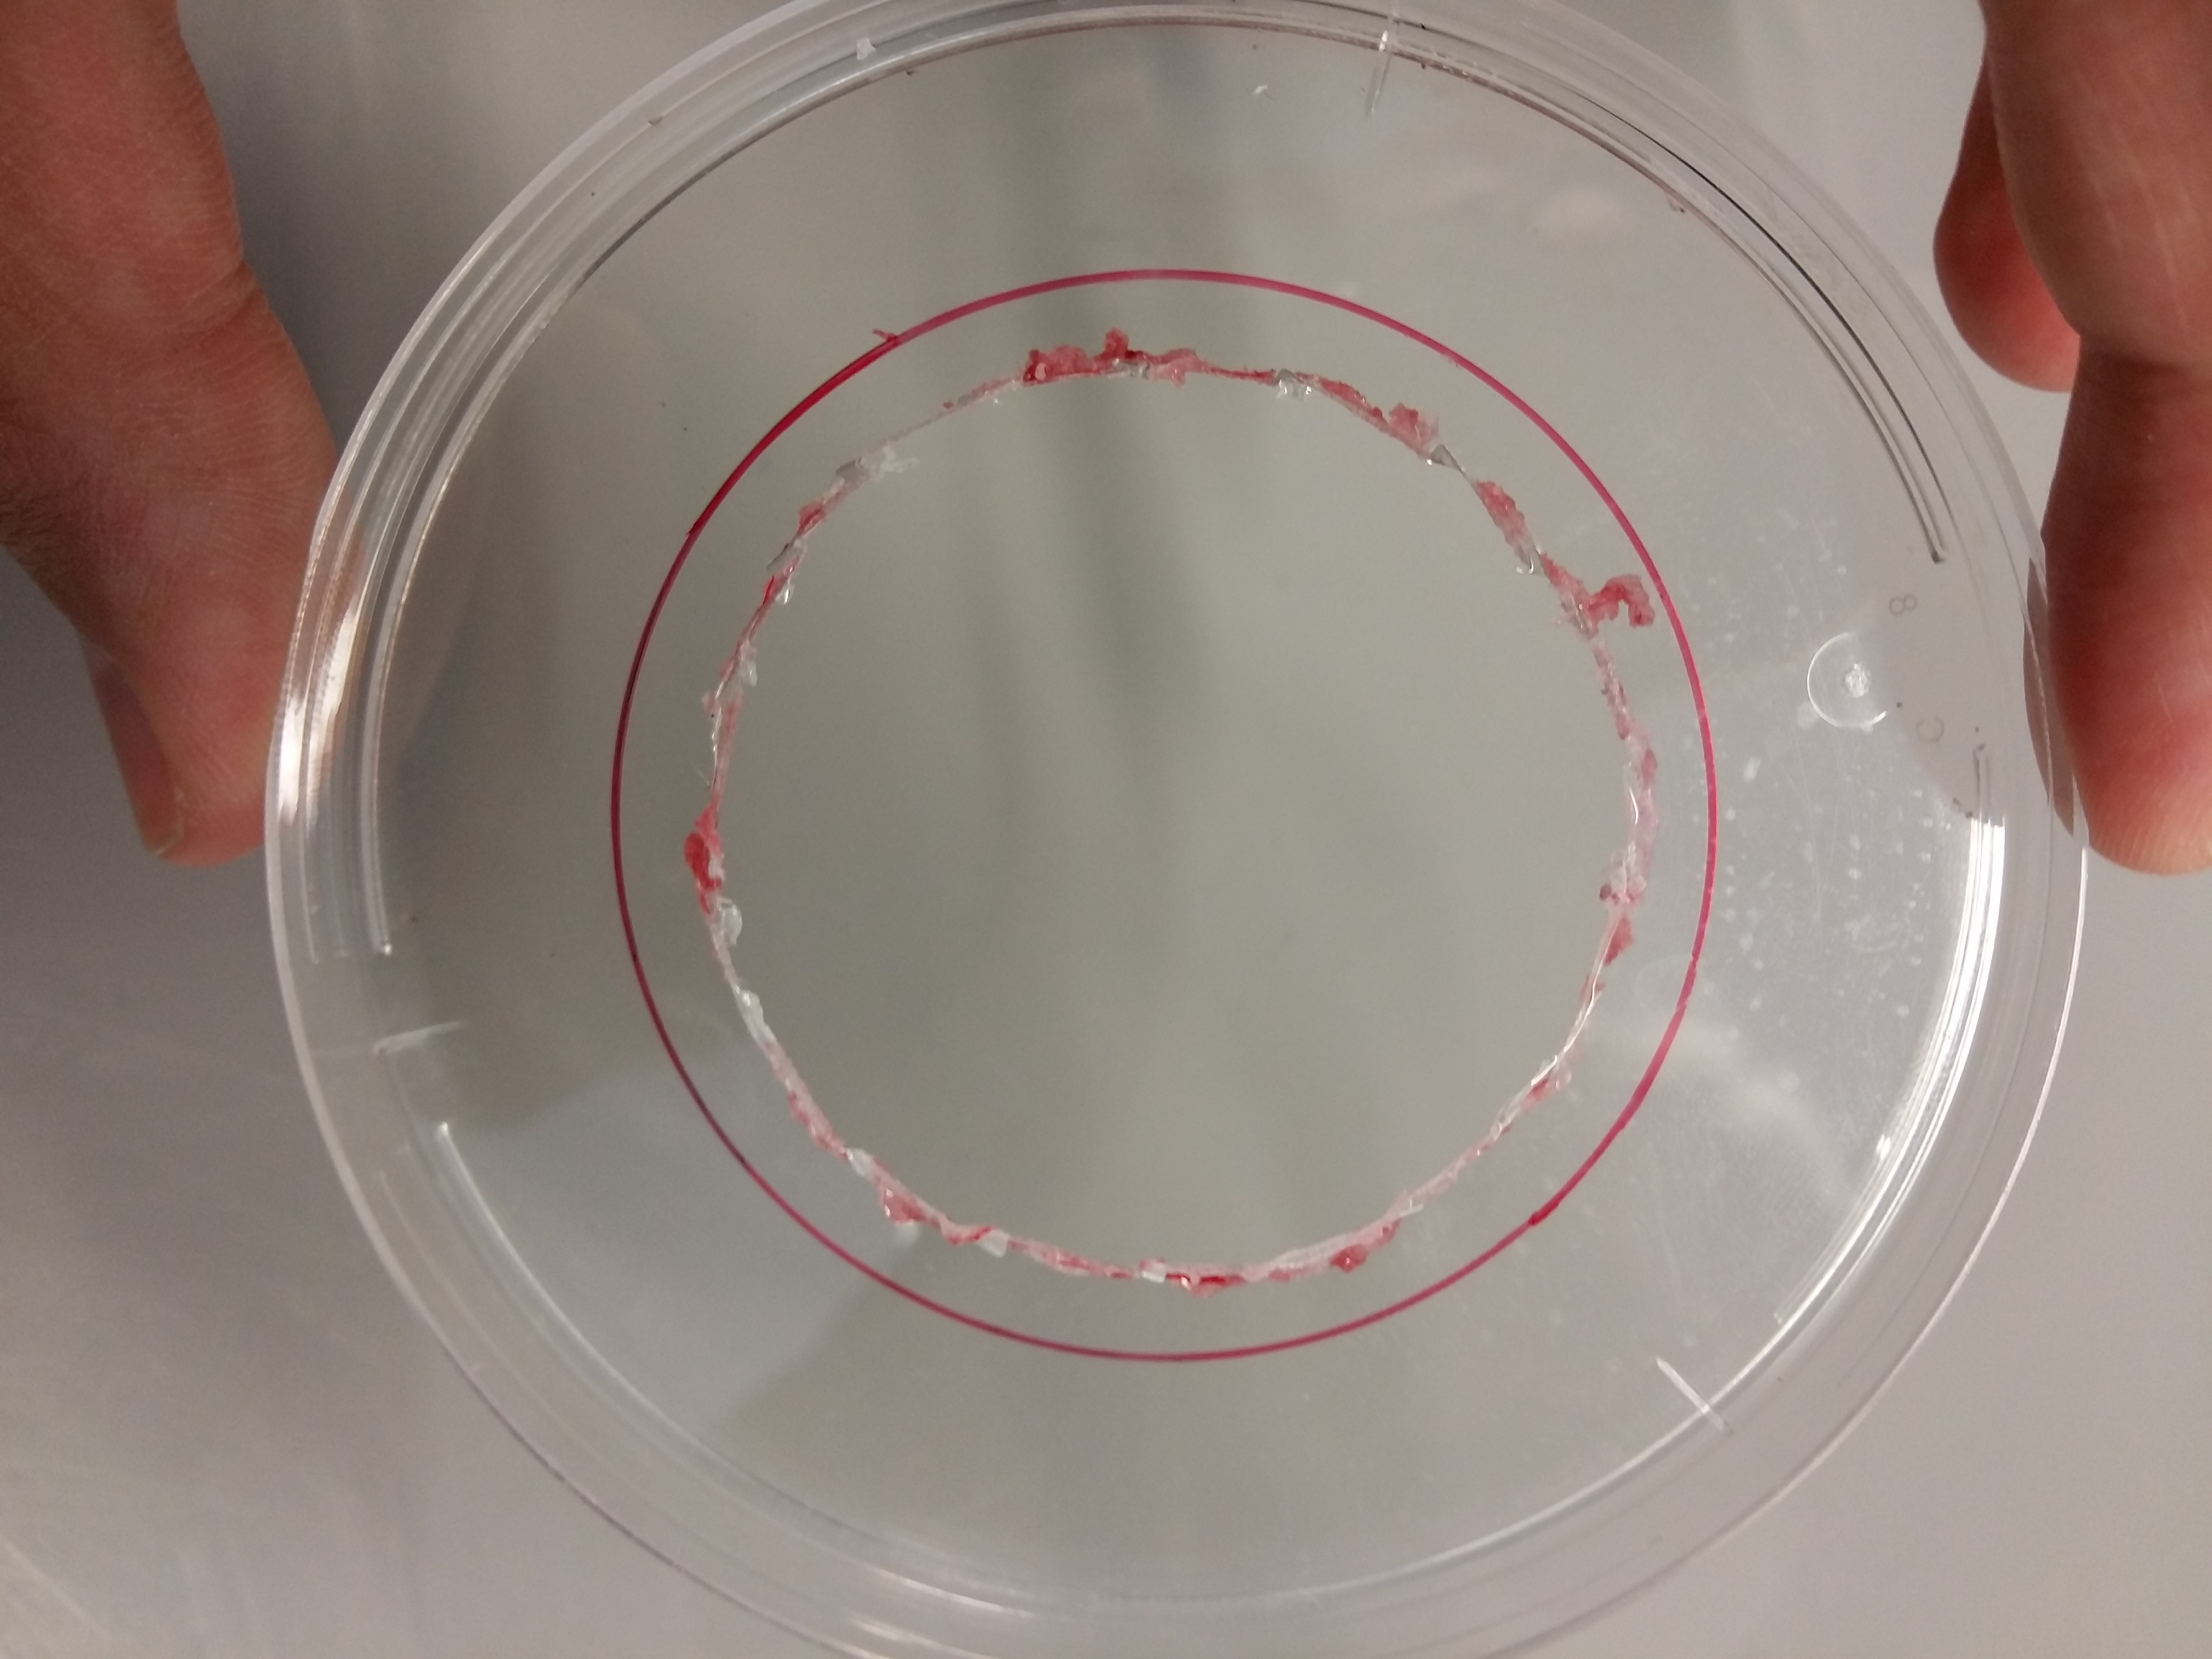
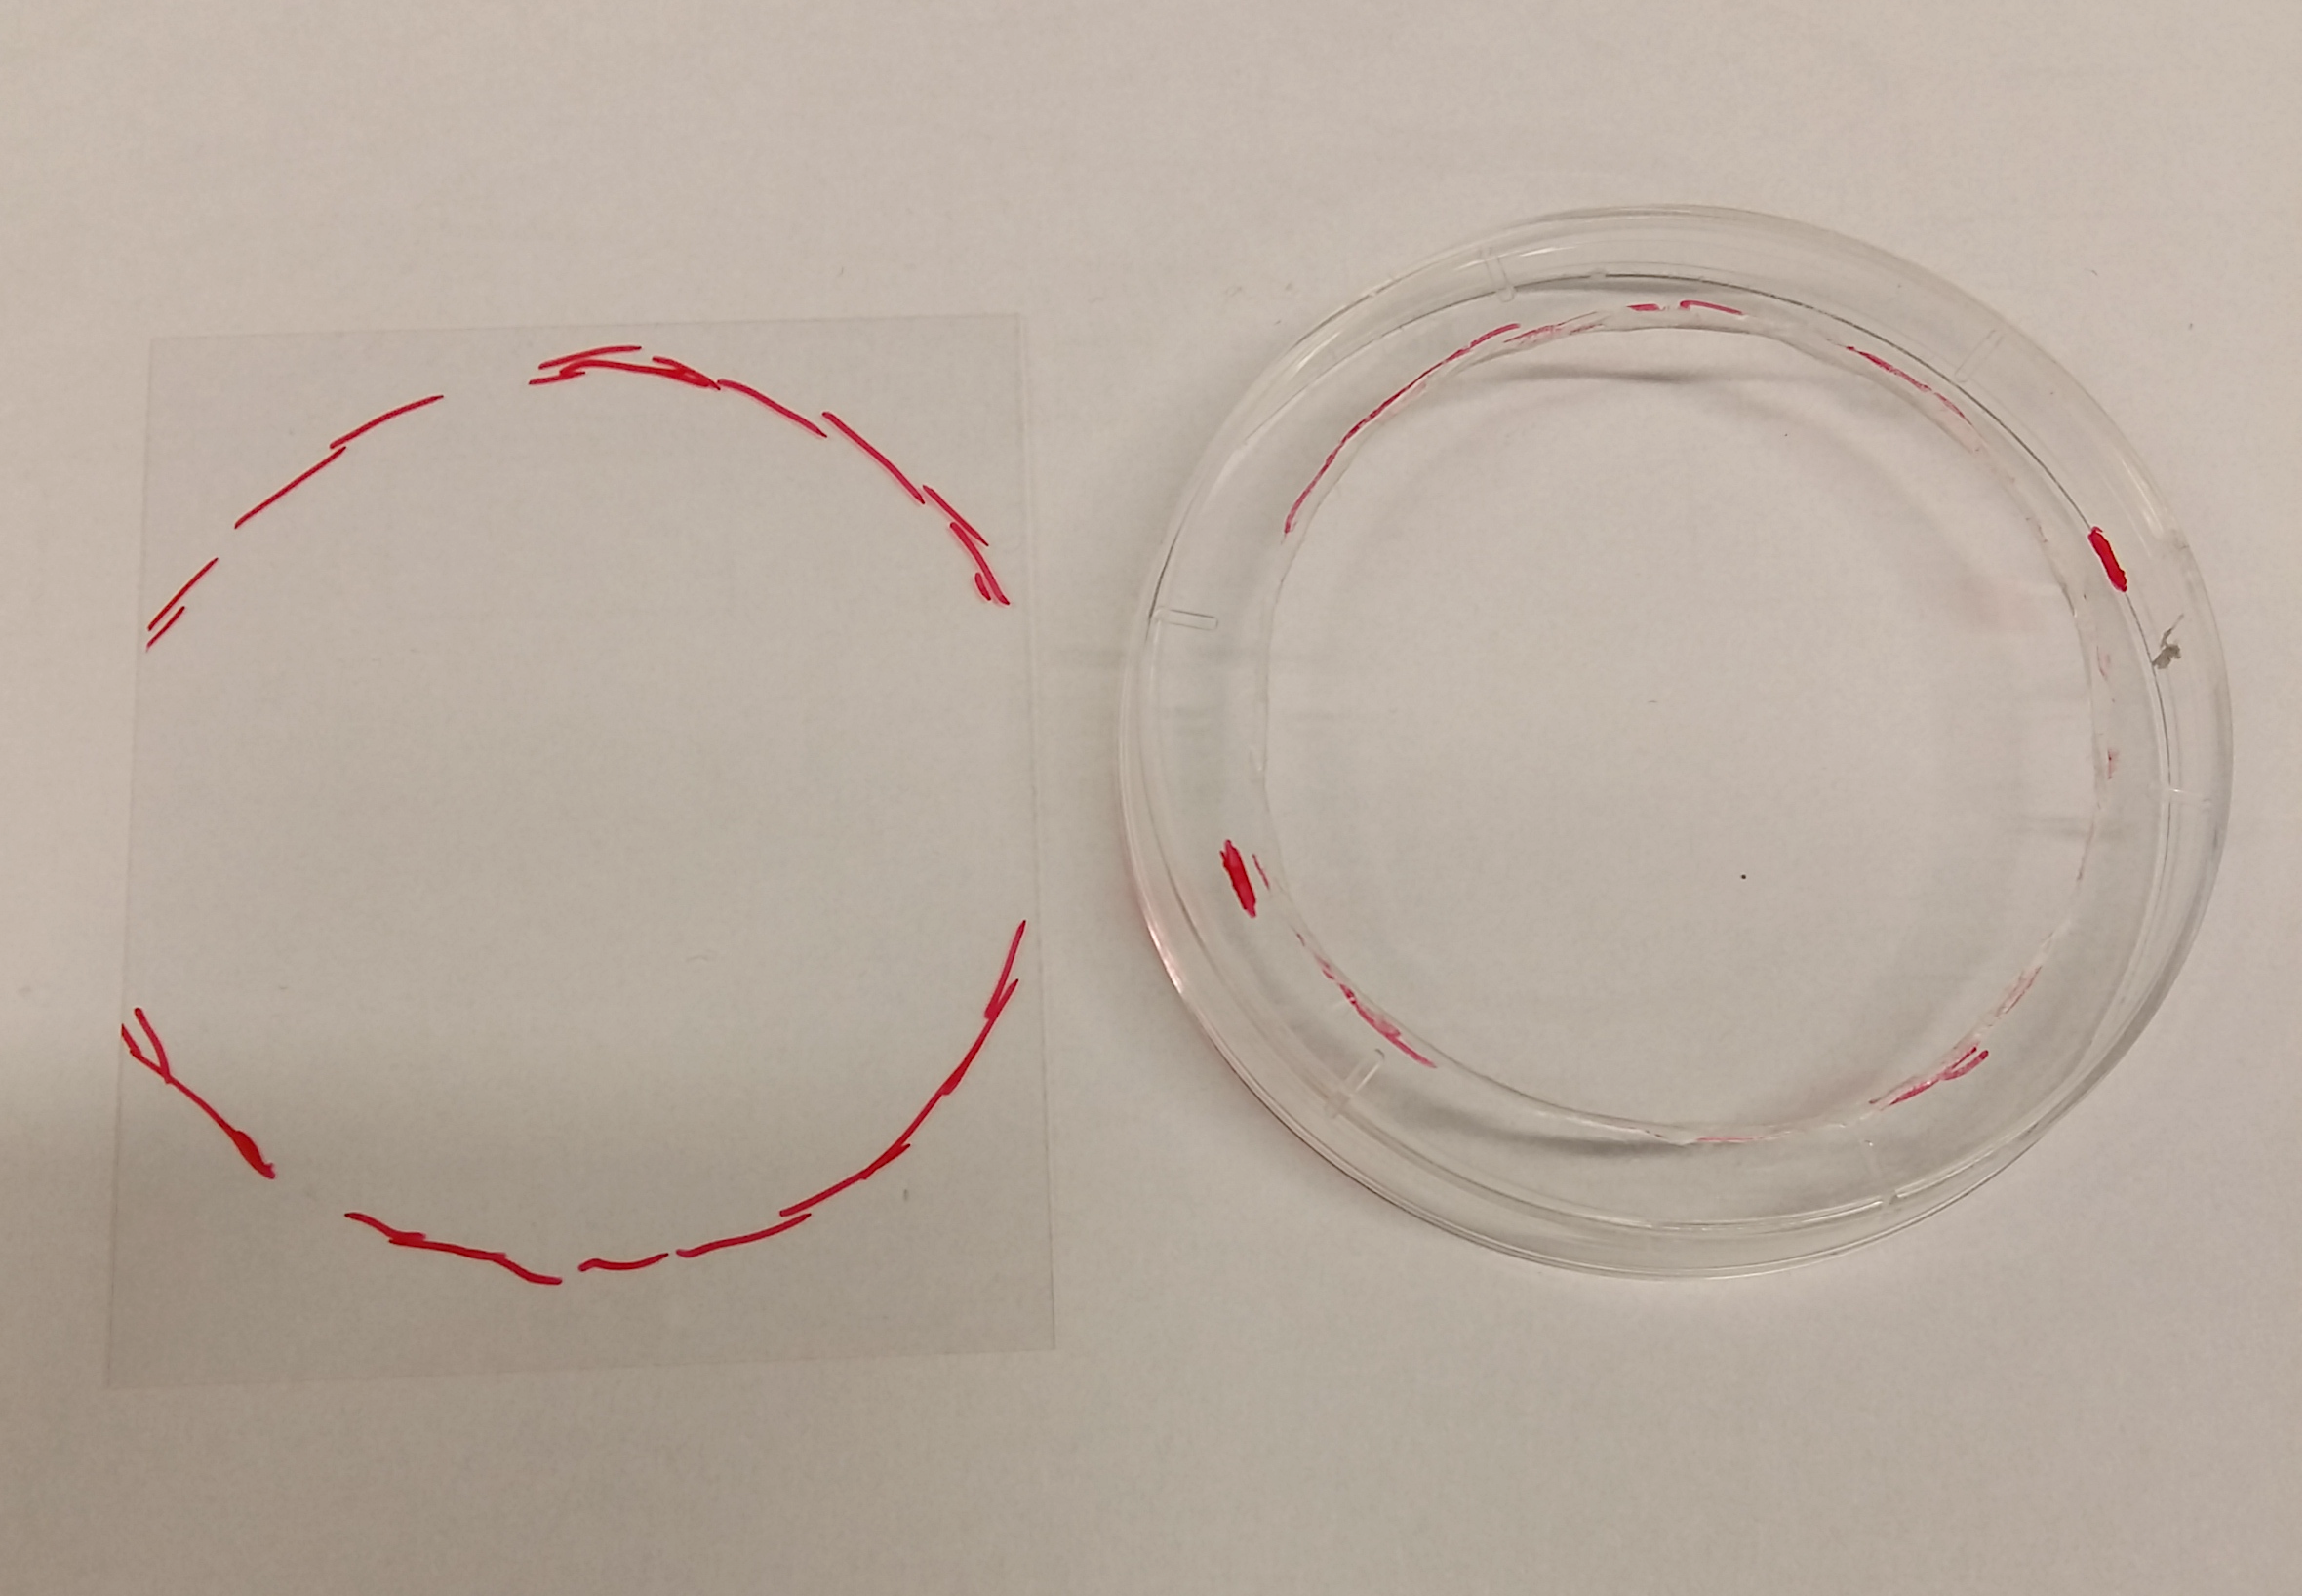
Place the smaller petri dish on the larger one and draw the outline of the smaller one onto the larger one. Then draw a smaller circle inside the outline (just enough smaller to leave a margin for the smaller one to be placed onto the larger petri dish, see later pictures). Then cut along the smaller circle with the rotary tool and remove the burr afterwards using the grinding attachment of the rotary tool.
Step 2
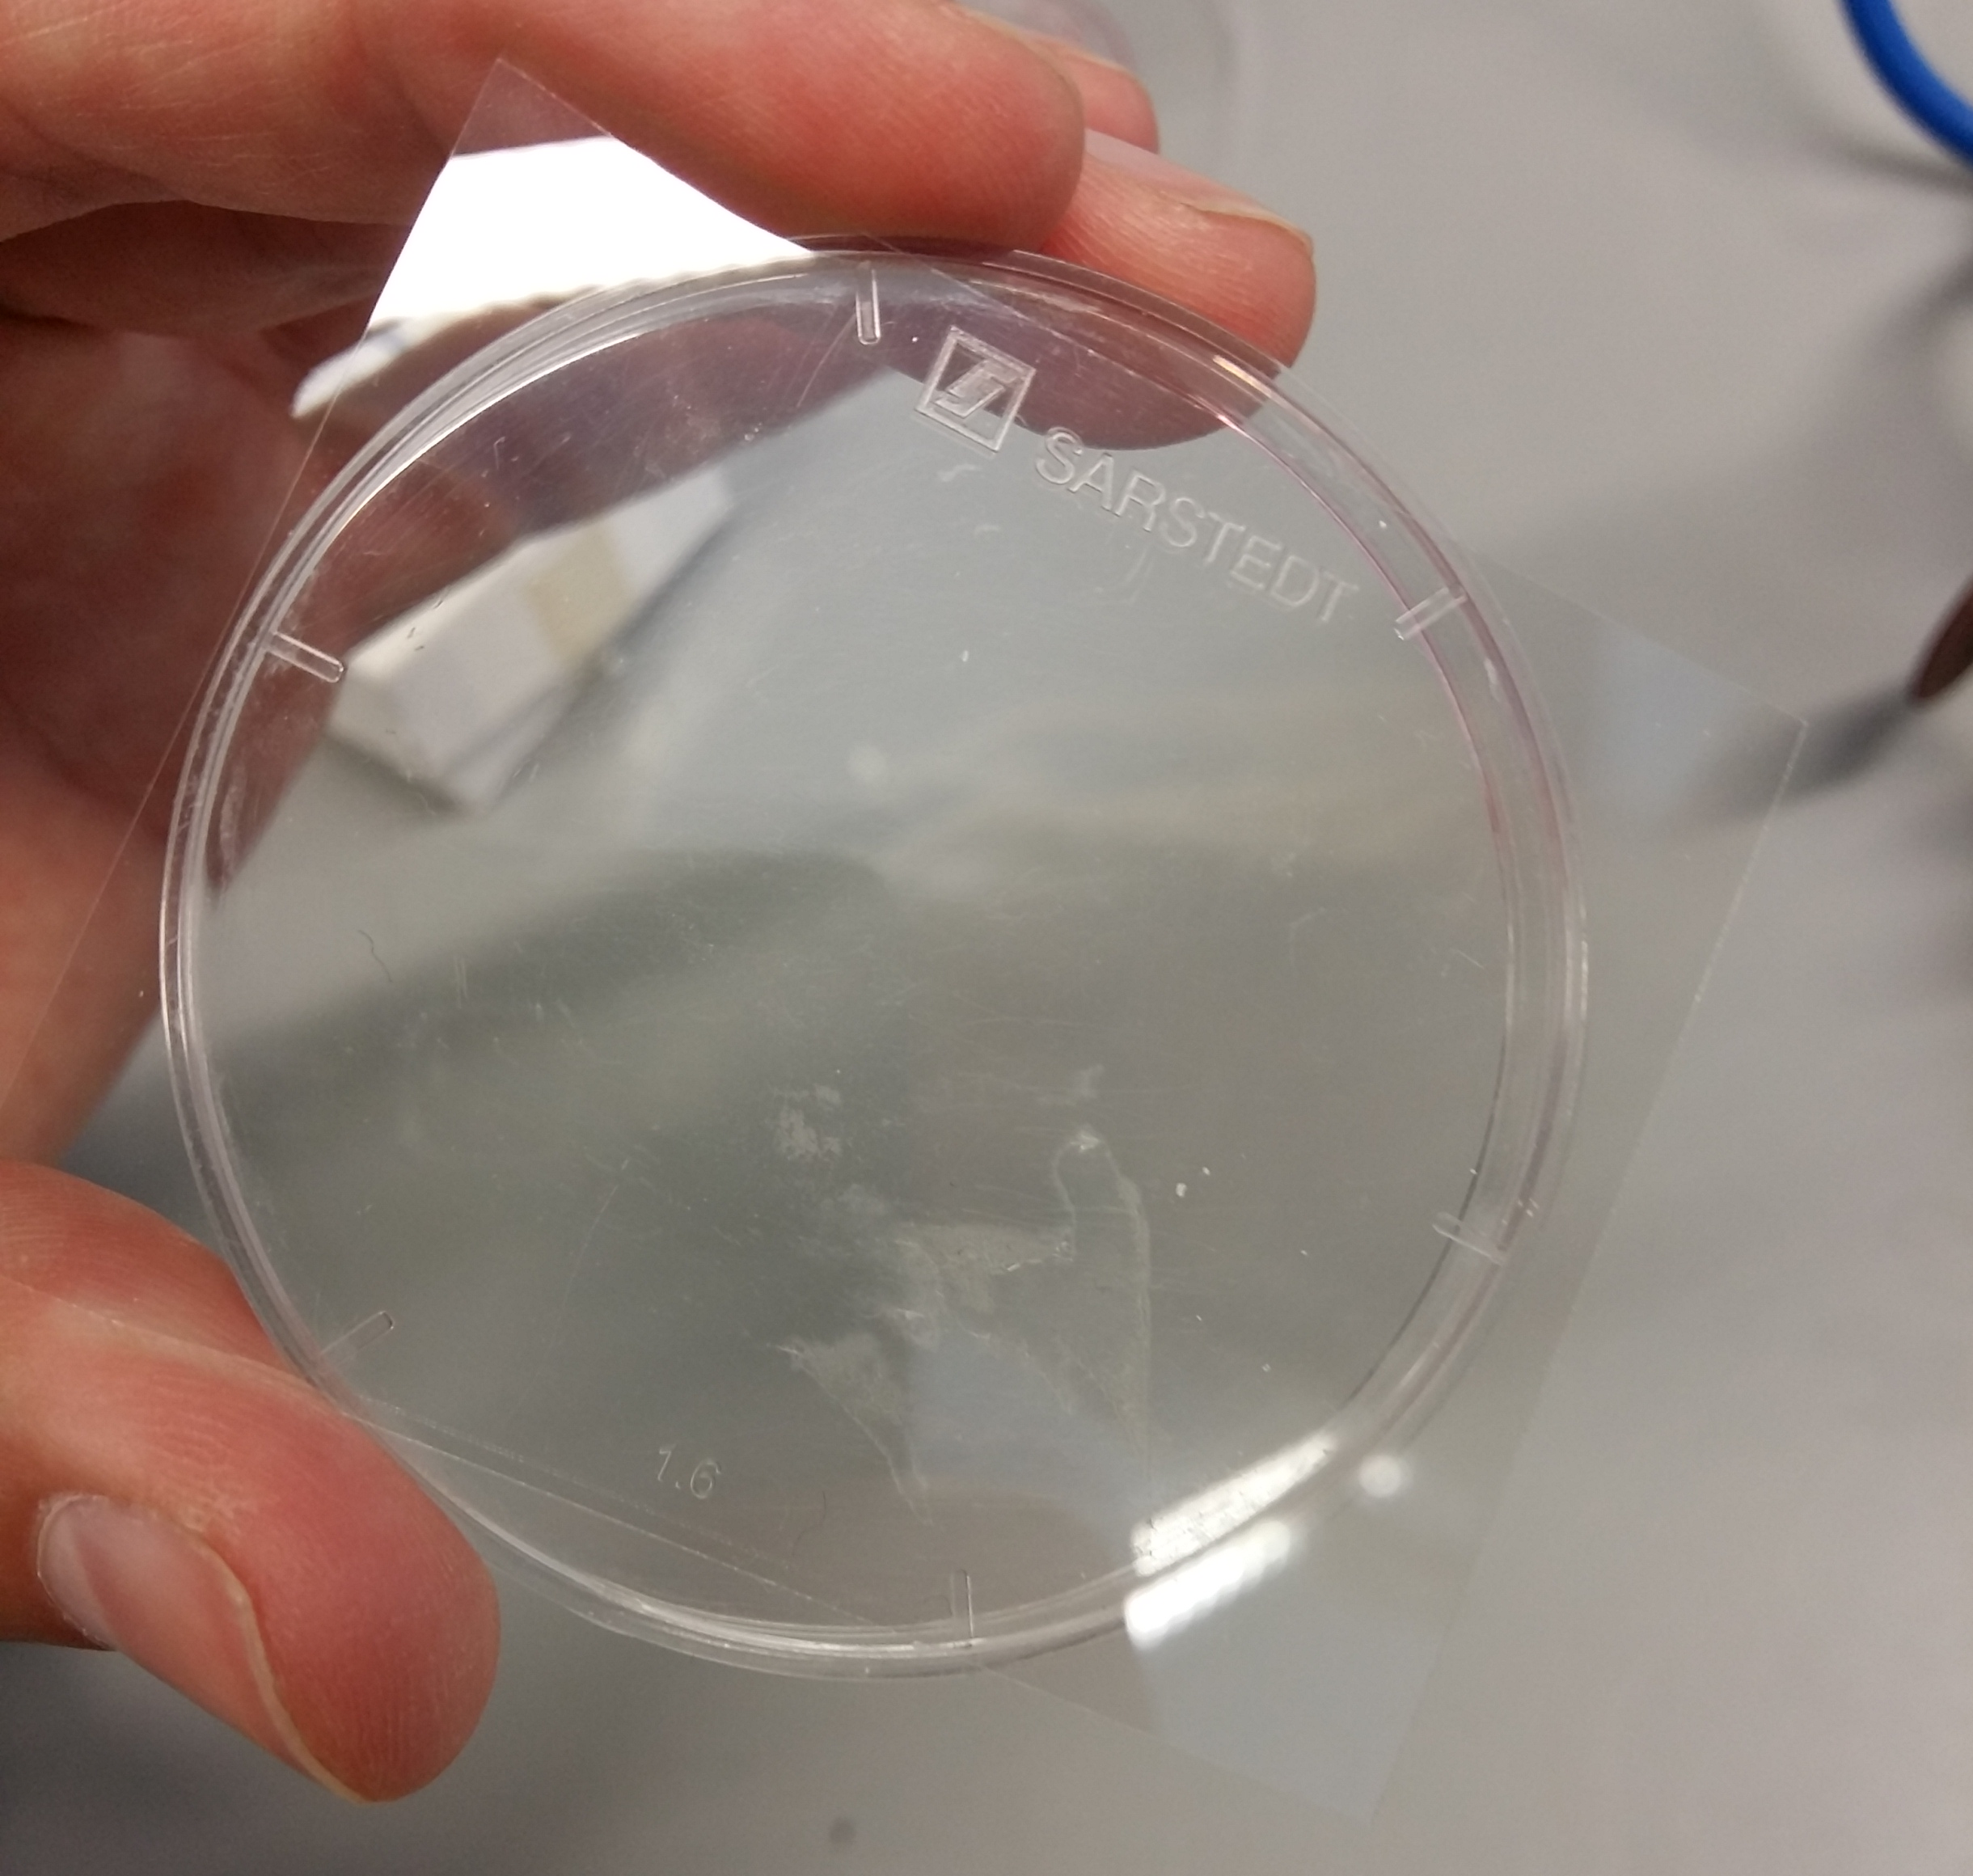
If your cover slips are smaller than the diameter of the smaller petri dish, mark the size of the cover slip onto the small petri dish. Draw a circle on the bottom of the petri dish (smaller than the smallest side of the cover slip). Use the rotary tool to cut out a hole into the bottom of the petri dish (along the circle), remove the burr. By now you should have a small and a large petri dish with each a circular hole in the bottom.
Step 3
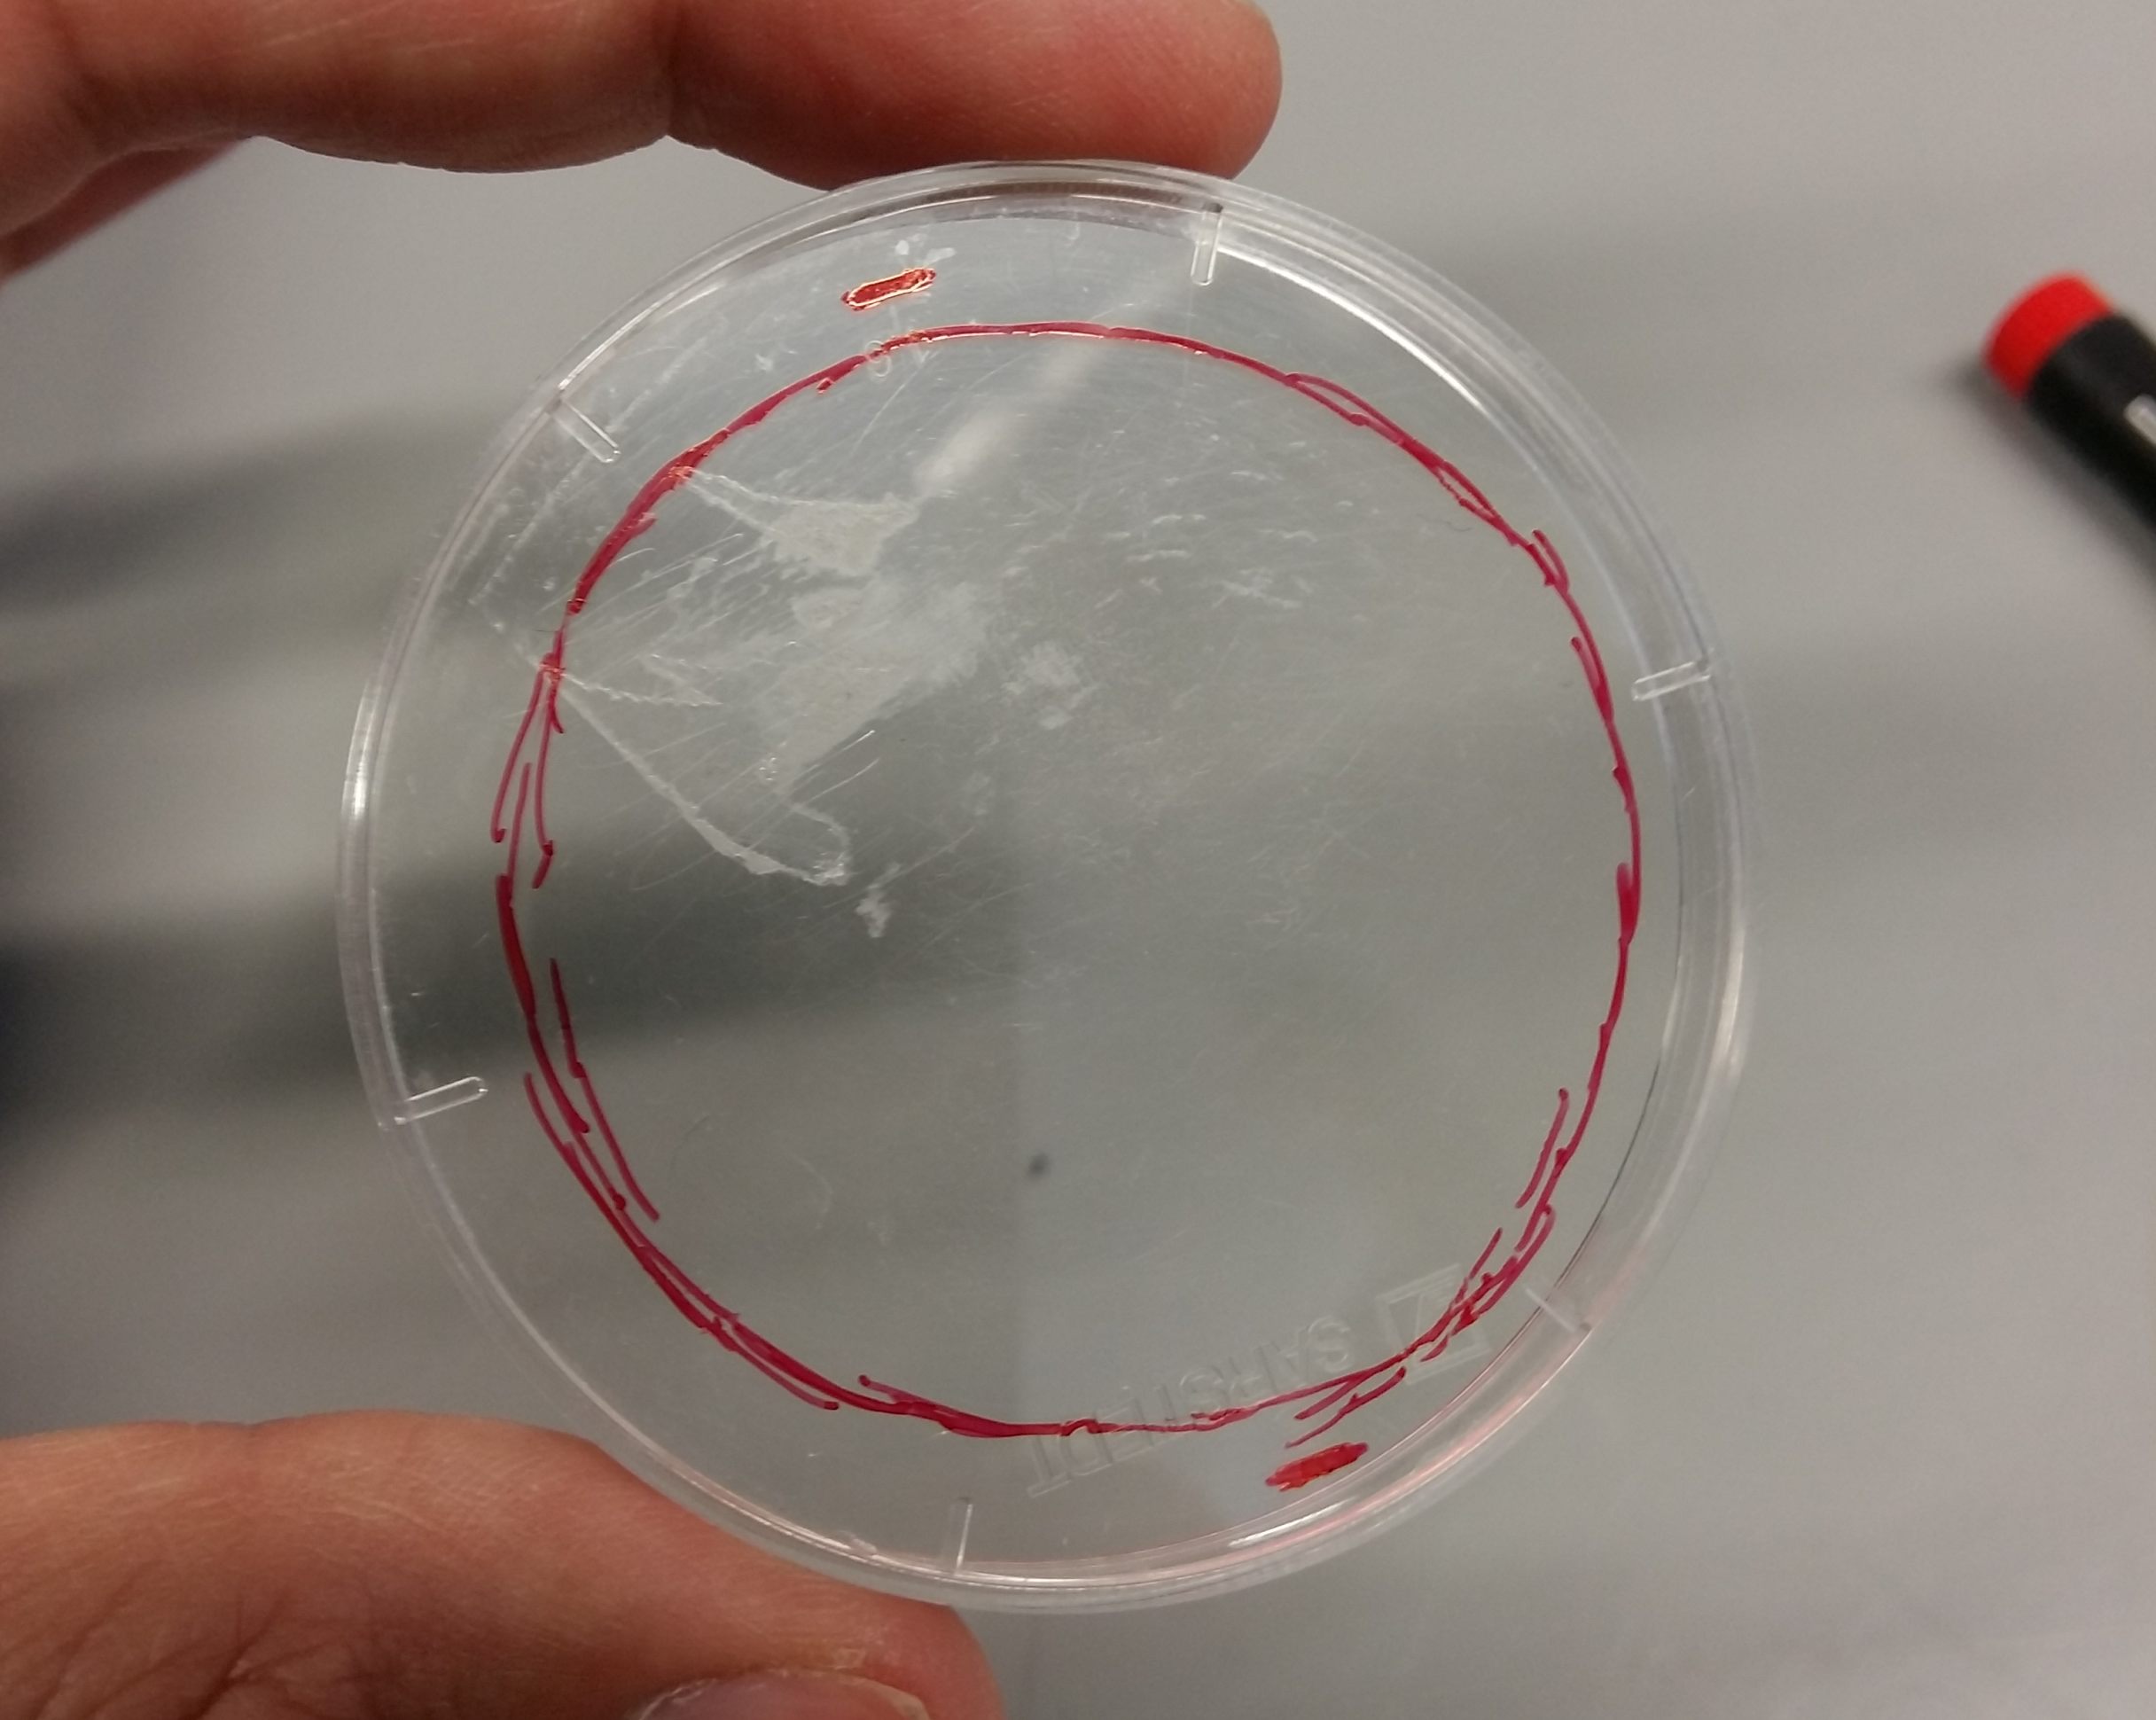
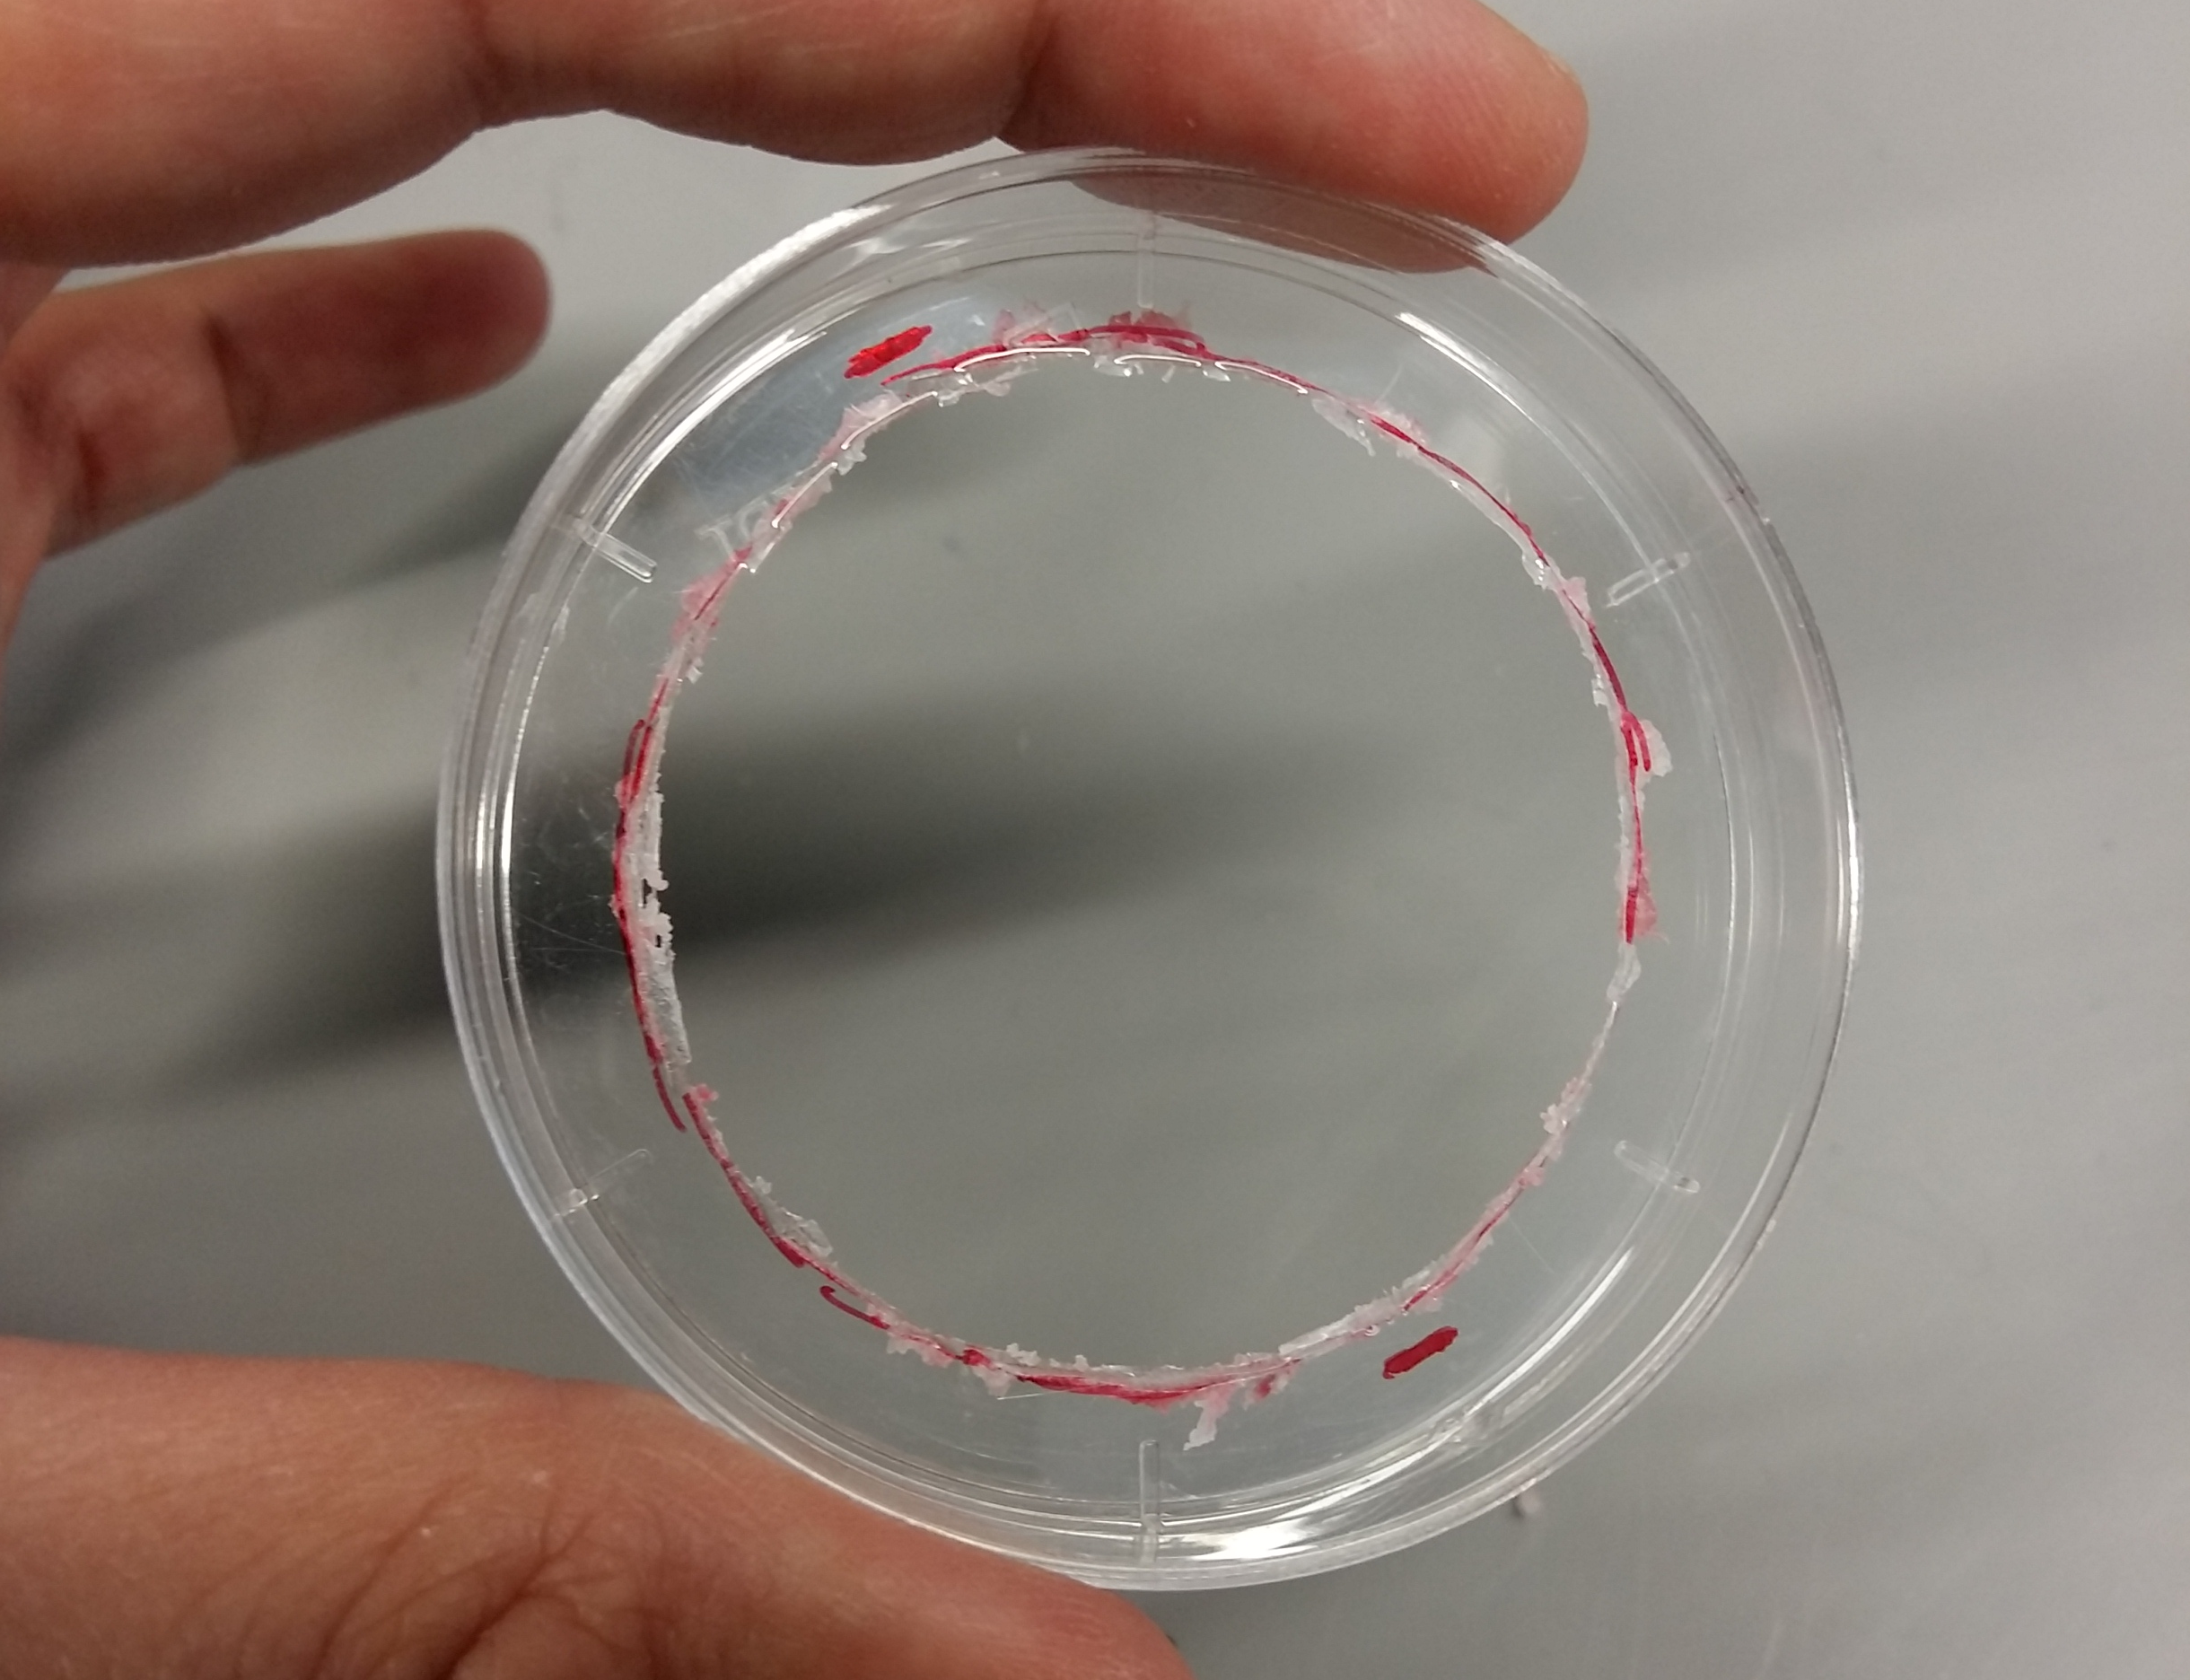
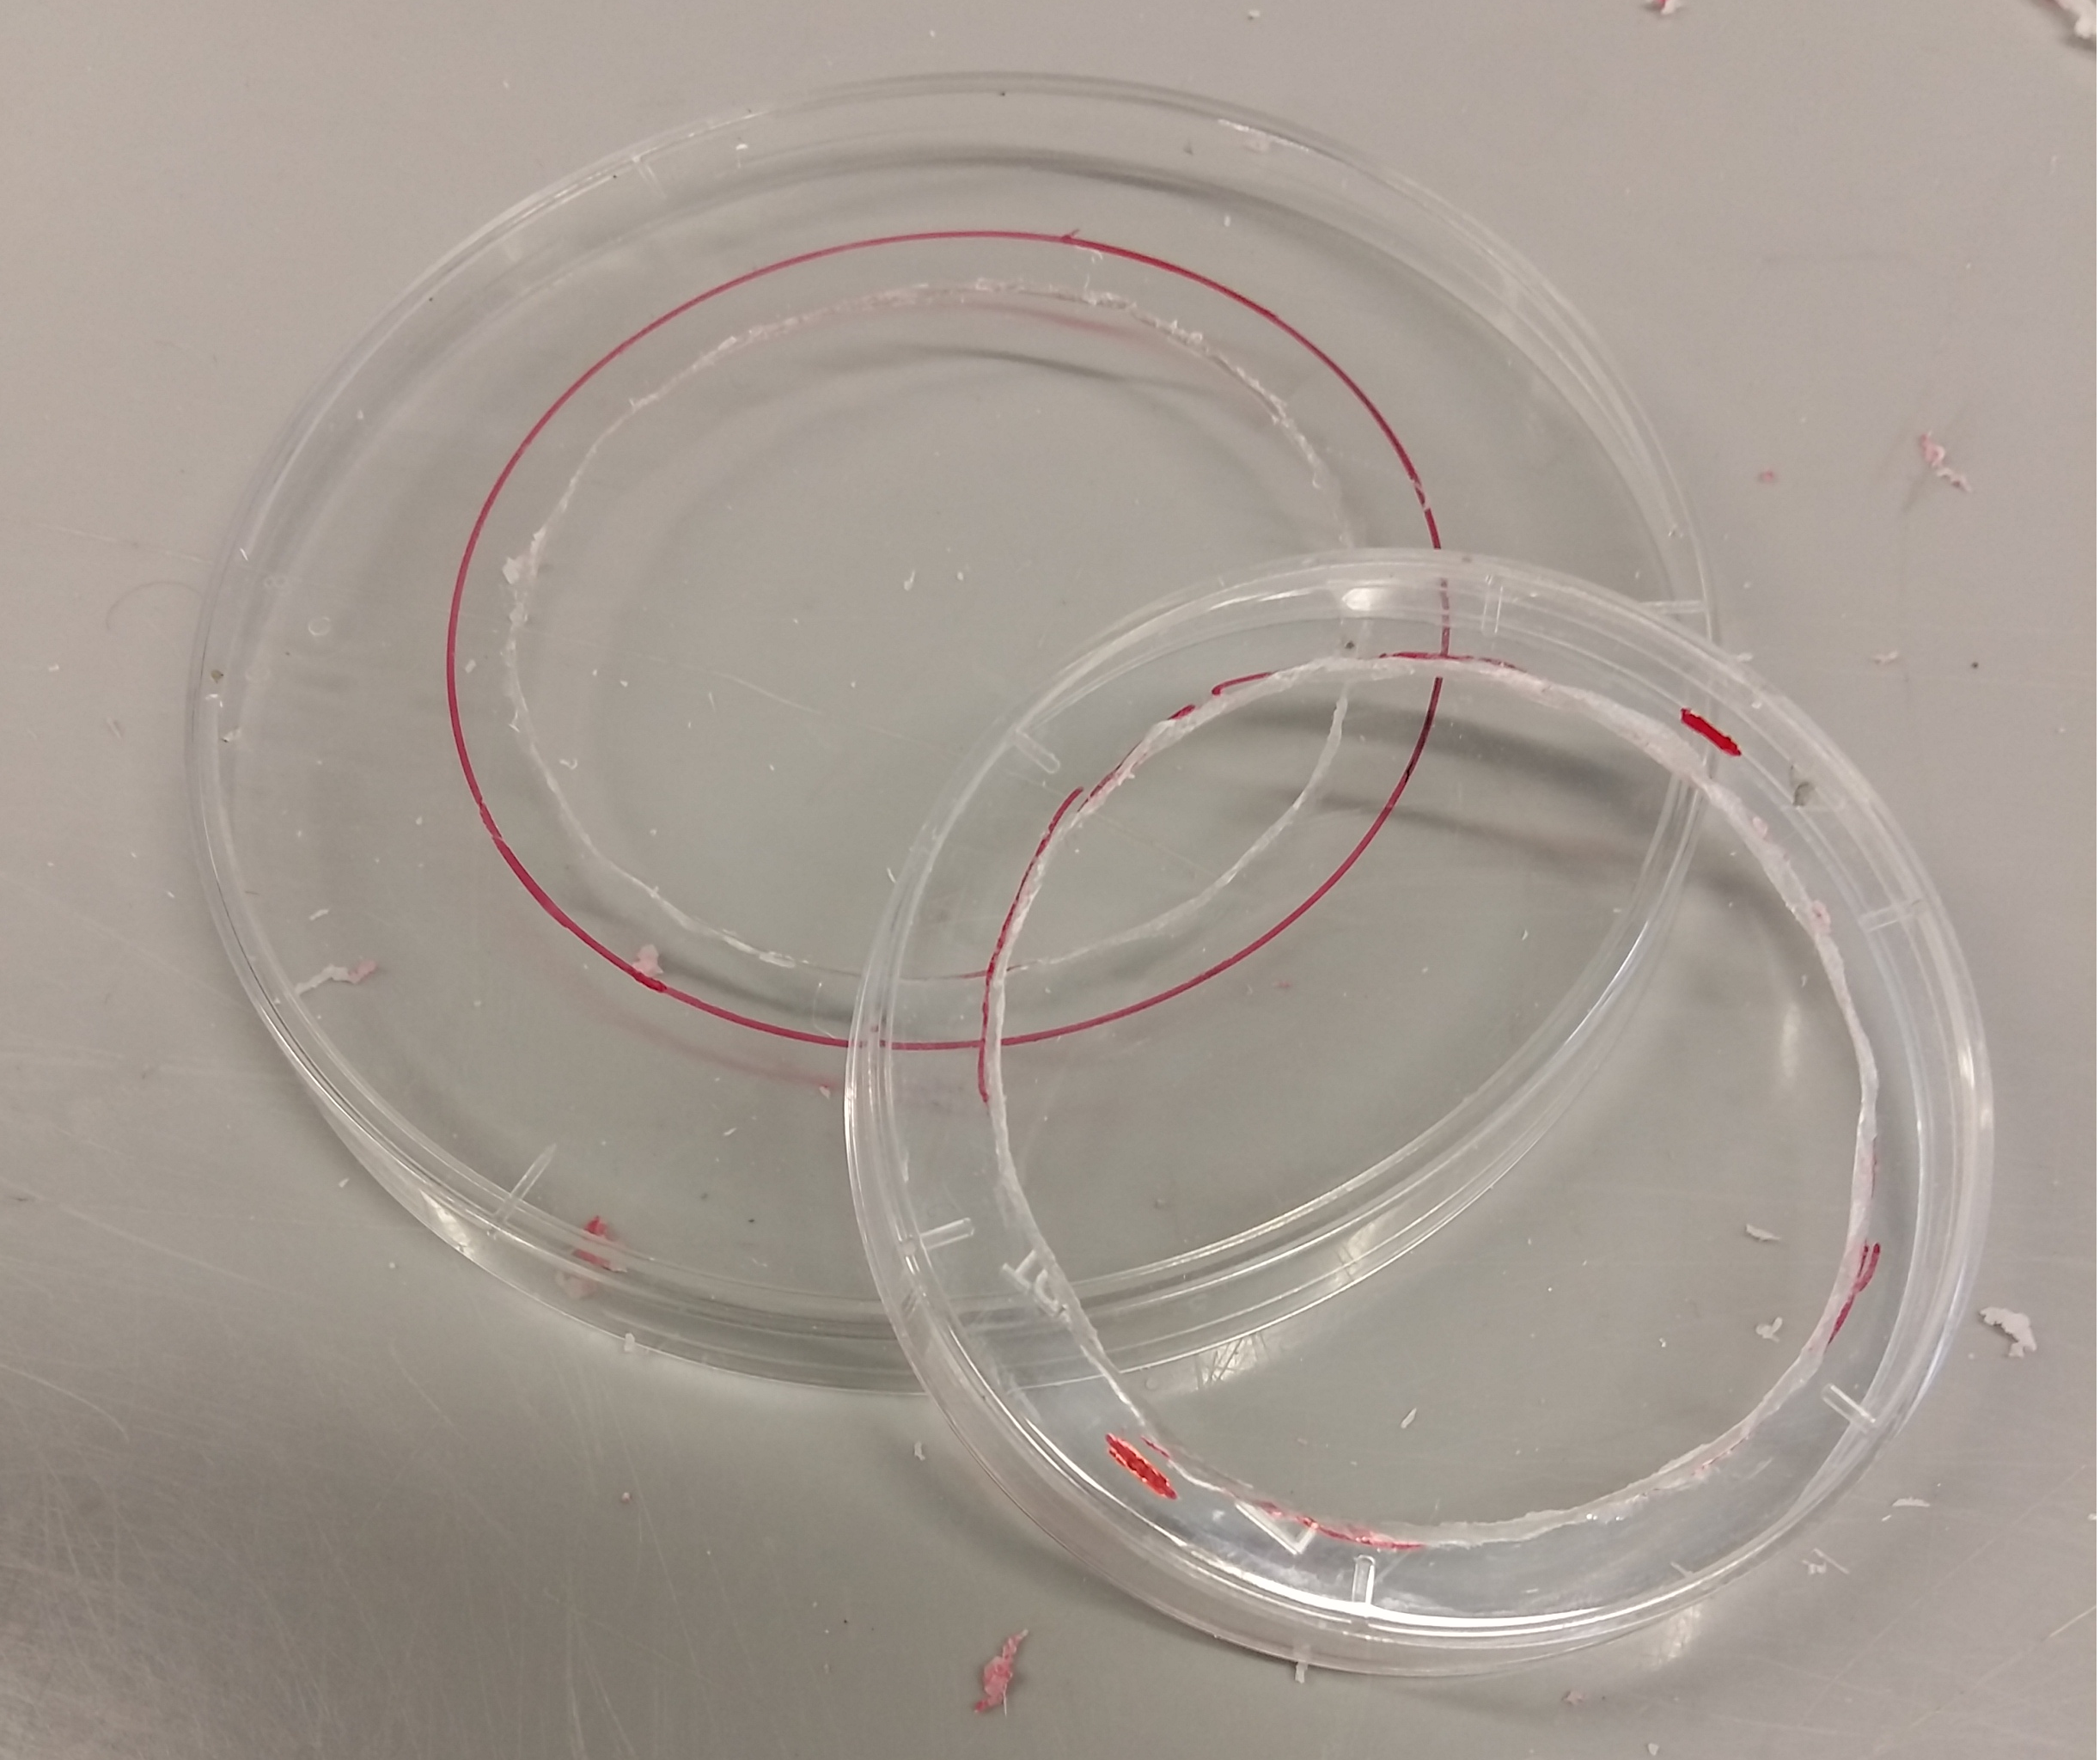
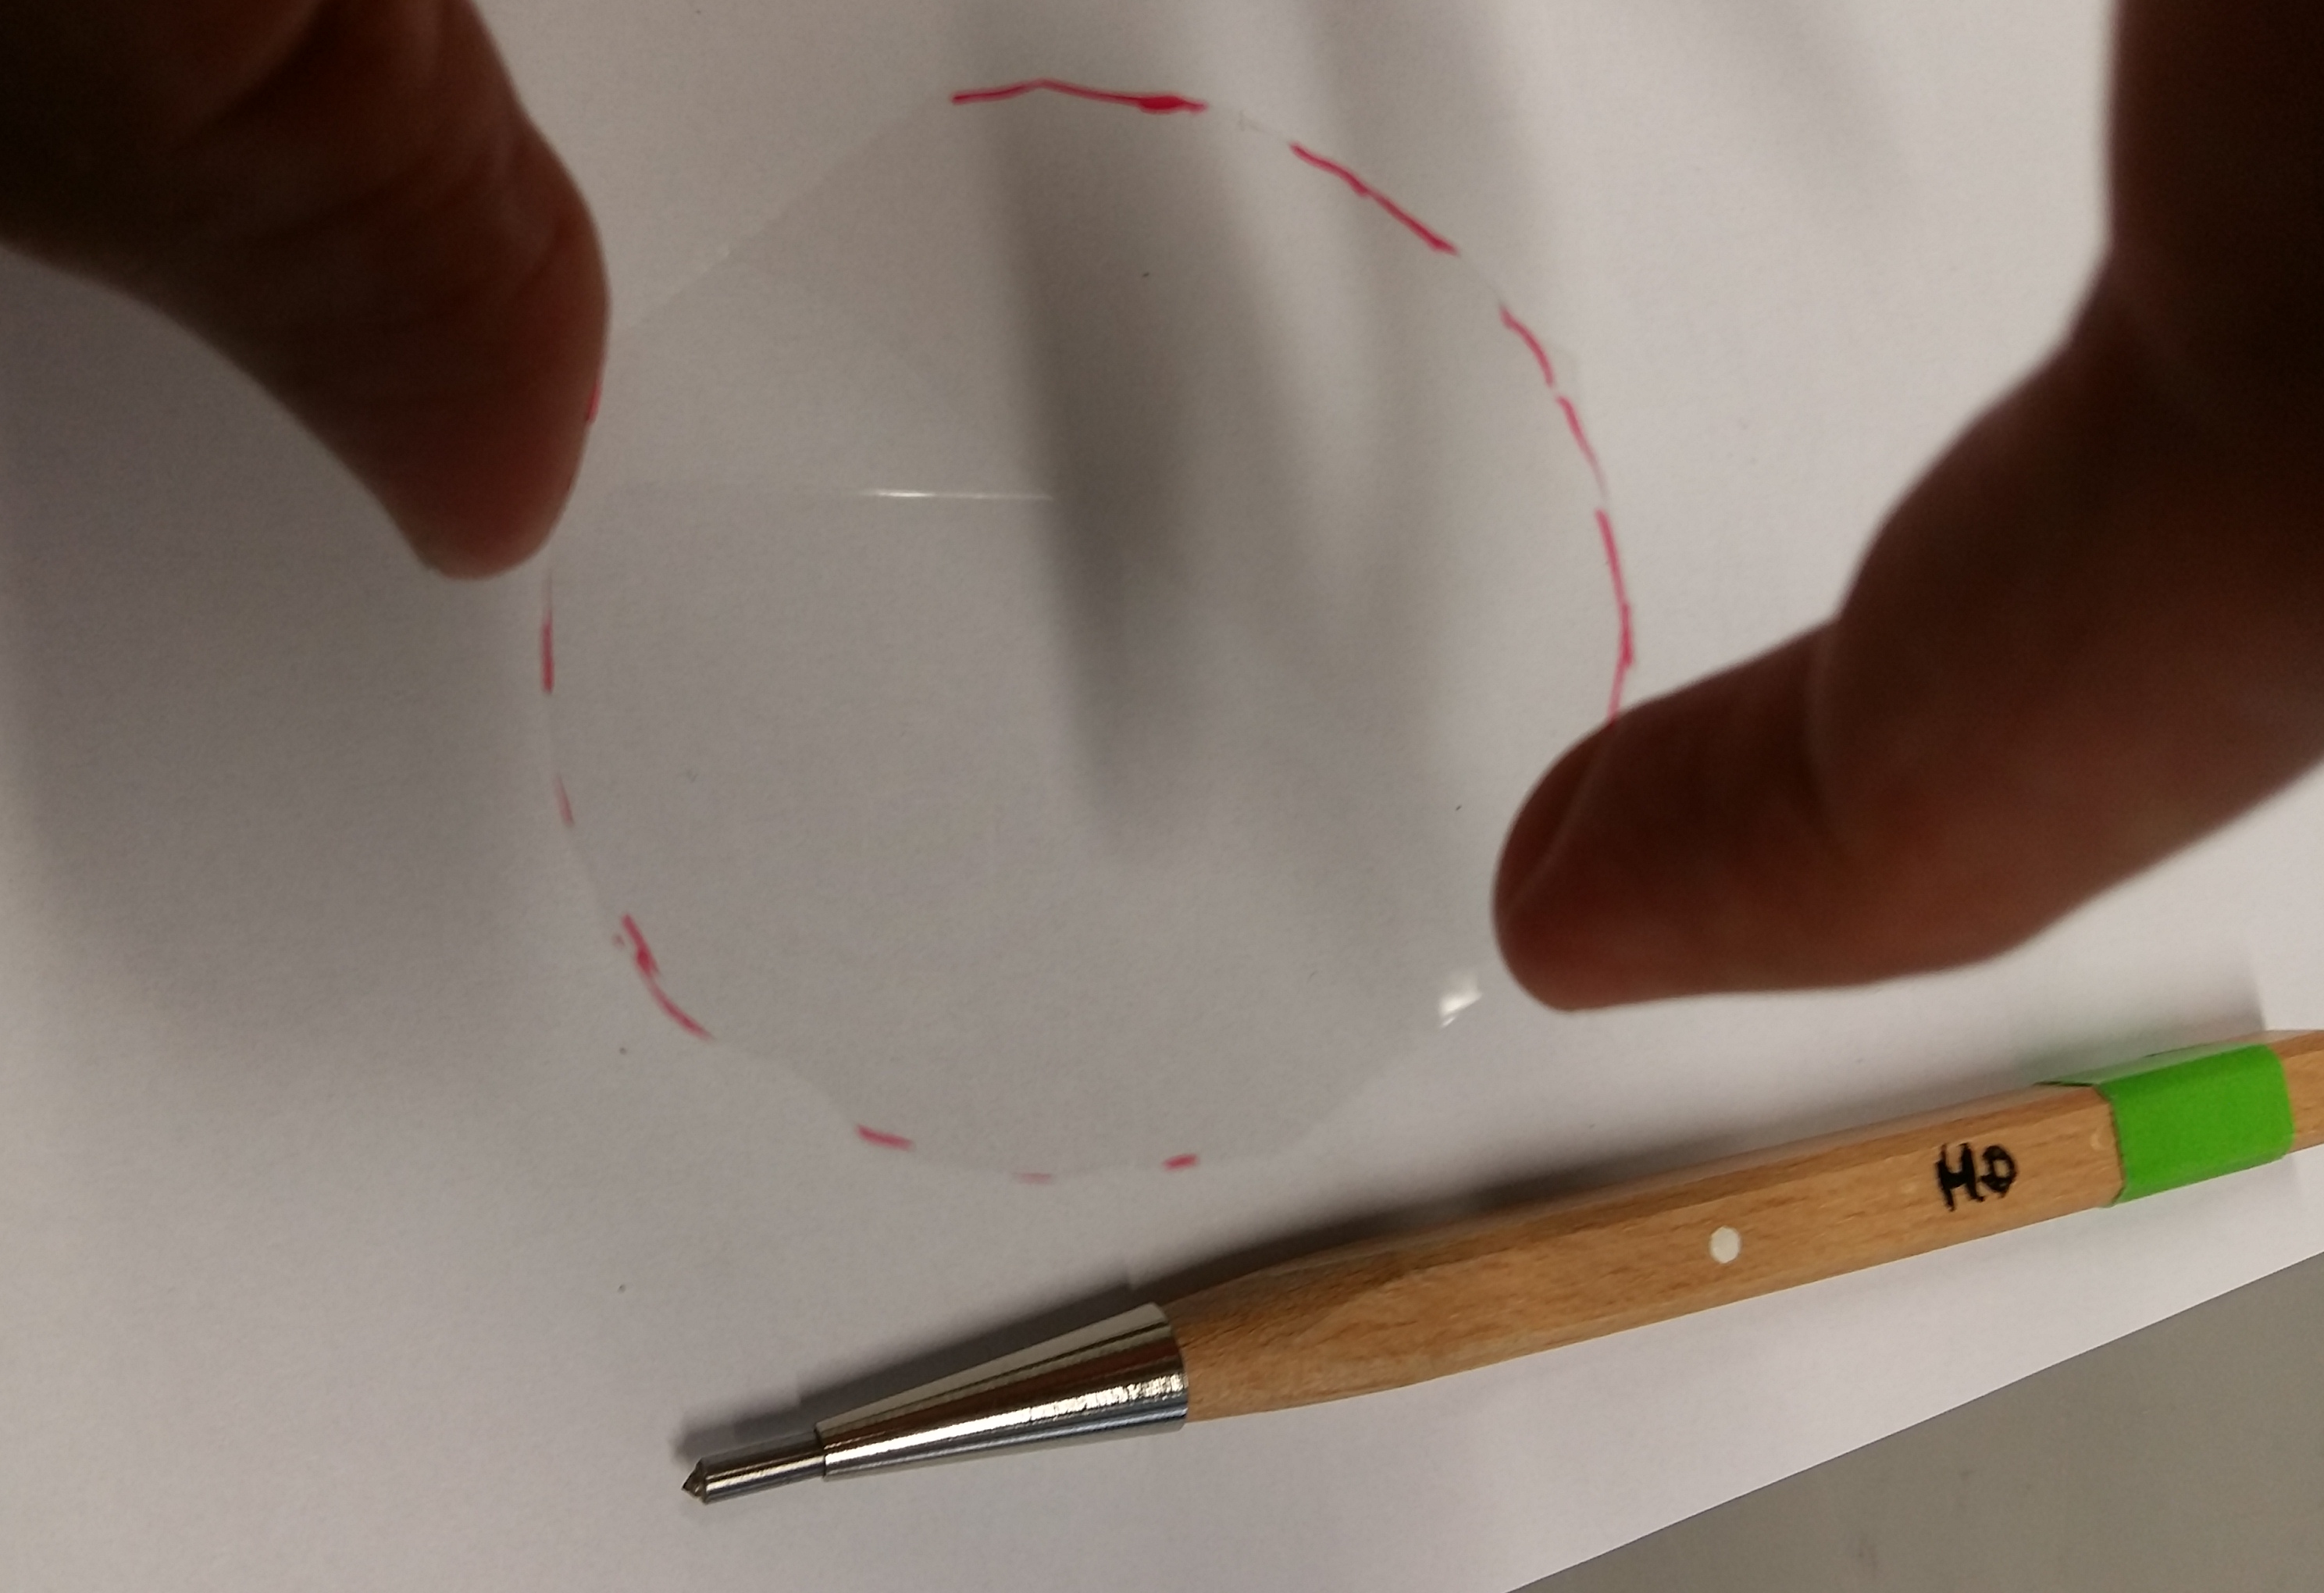
Use the permanent marker to draw a circle that is larger than the hole in the smaller petri dish but smaller than the outline of the same petri dish. Place the cover slip on a piece of paper (not on a paper towel!). Scratch along the circular marking. Check the result by looking at the reflection pattern. Gently break the glass along the scratches. You may need a few attempts for this. The cover slip should now fit on the bottom of the petri dish without overlapping.
Step 4
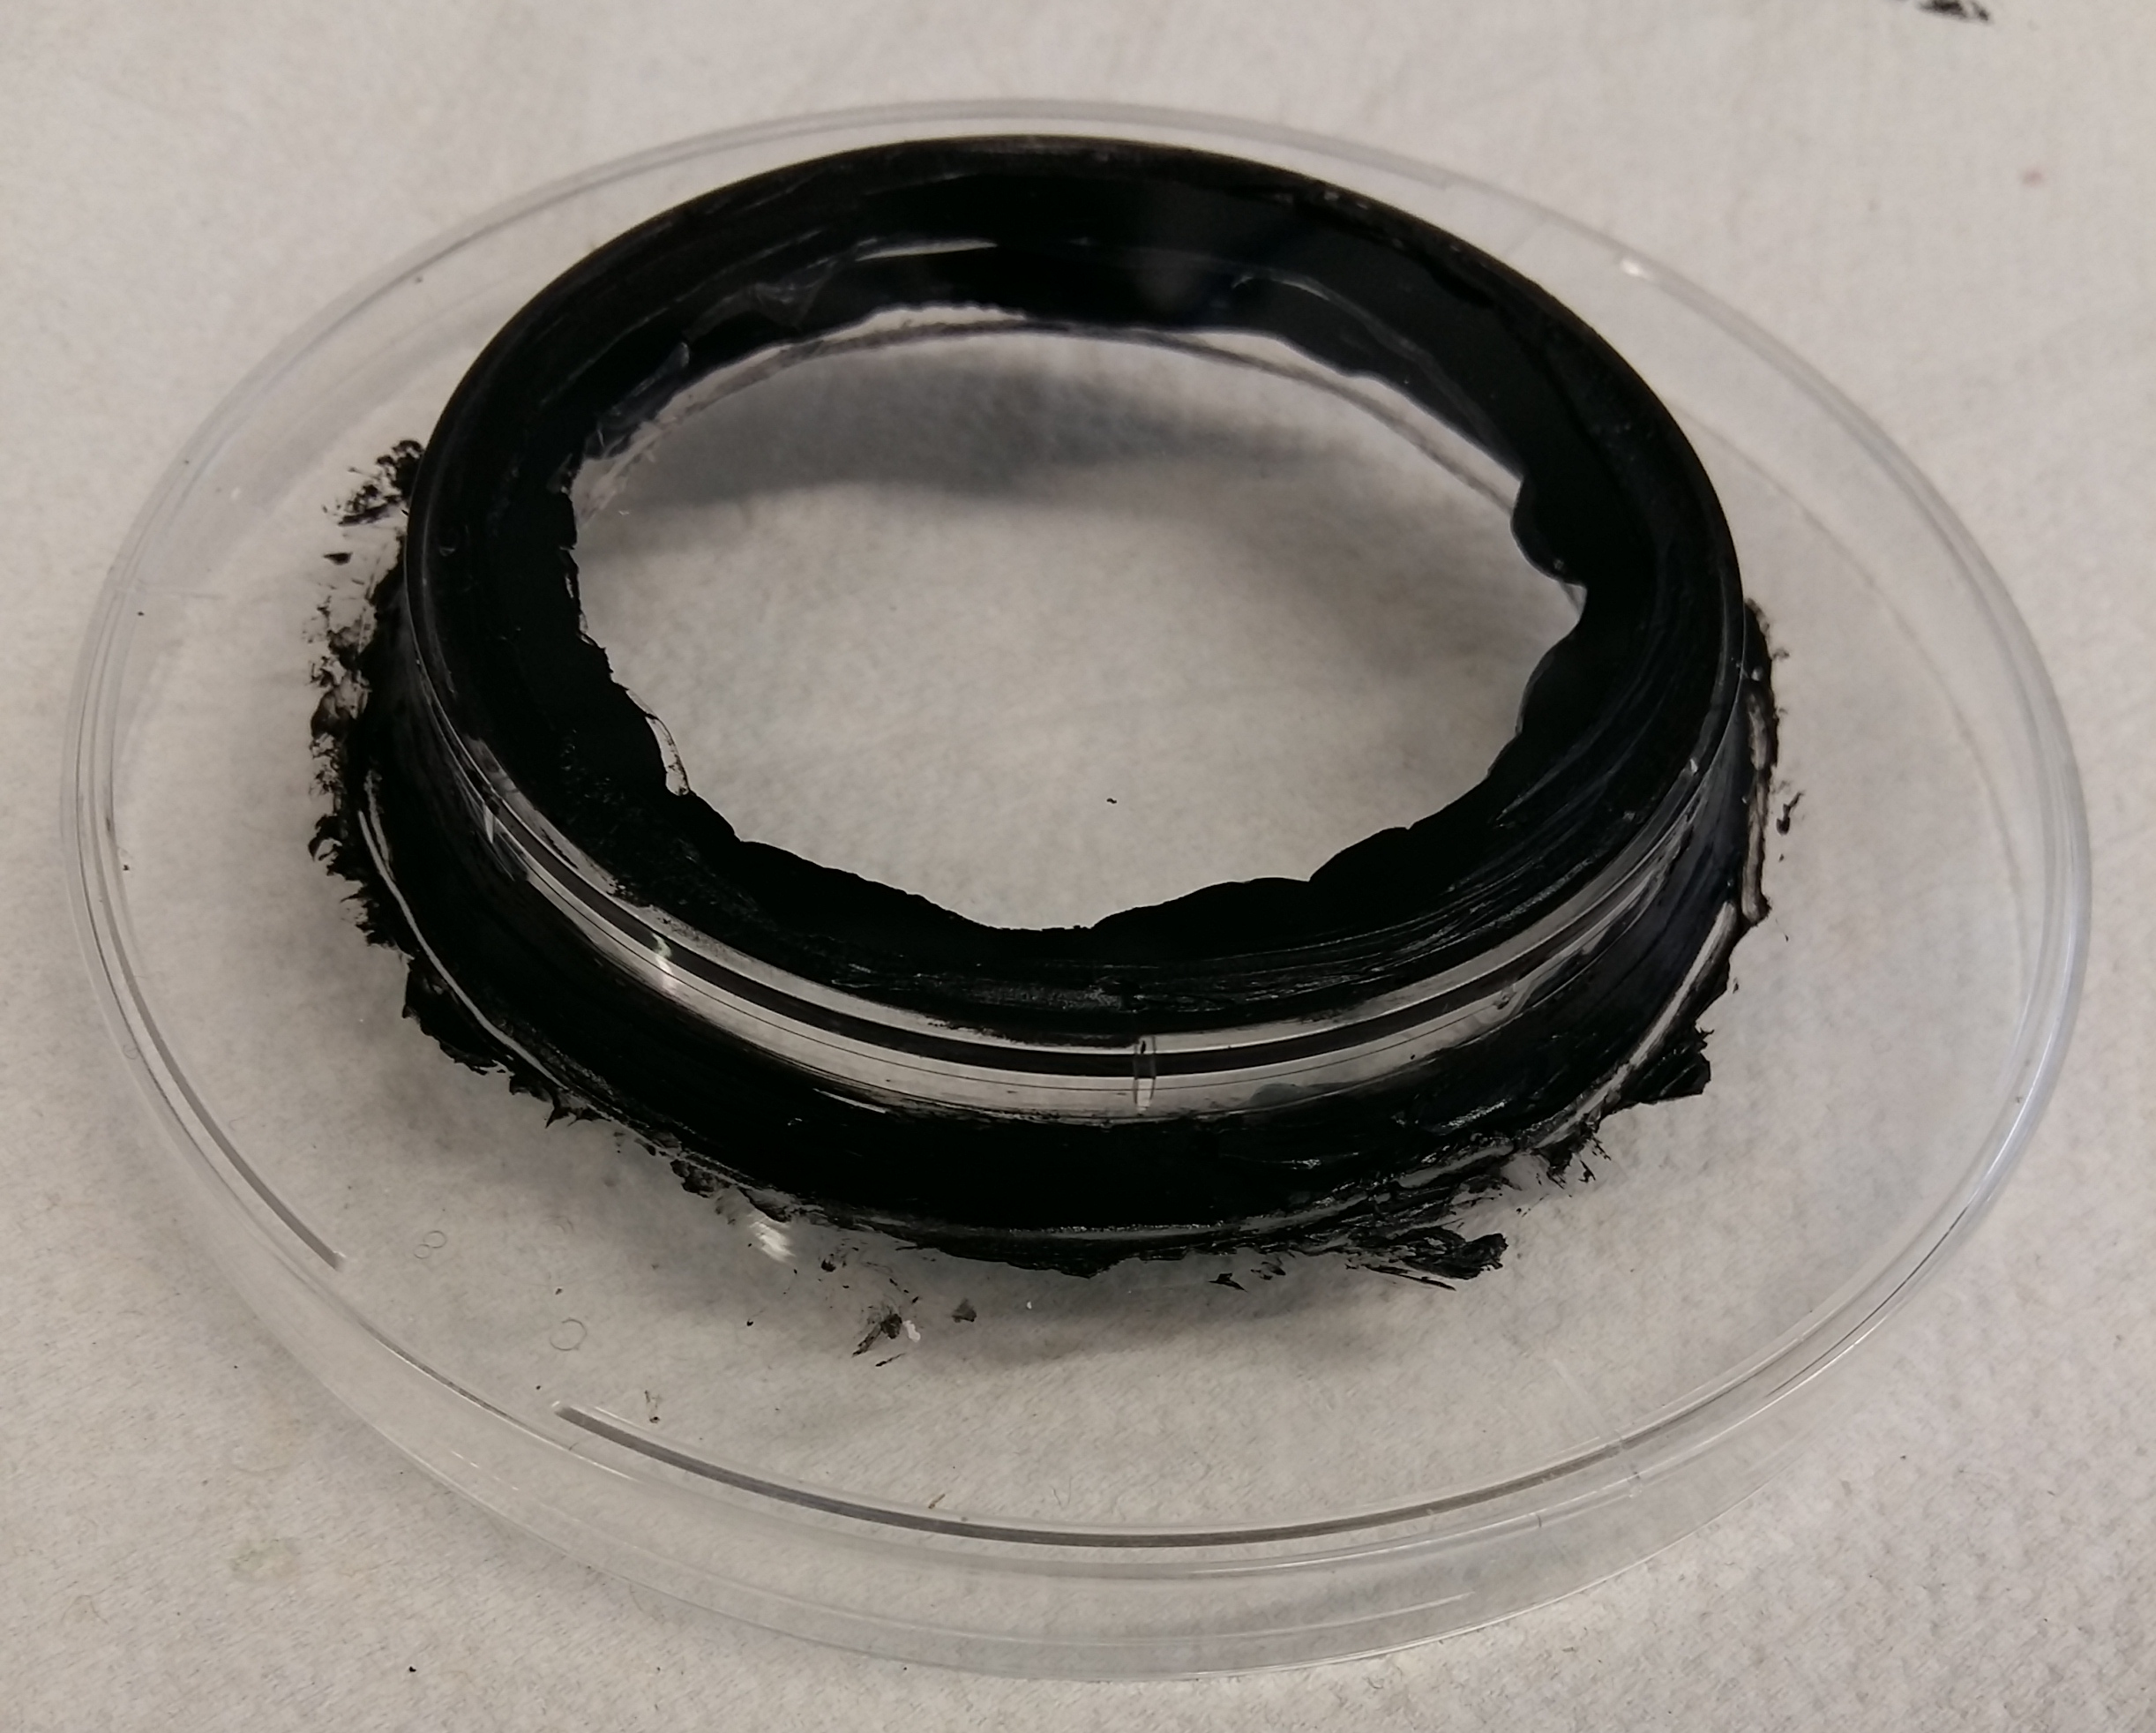
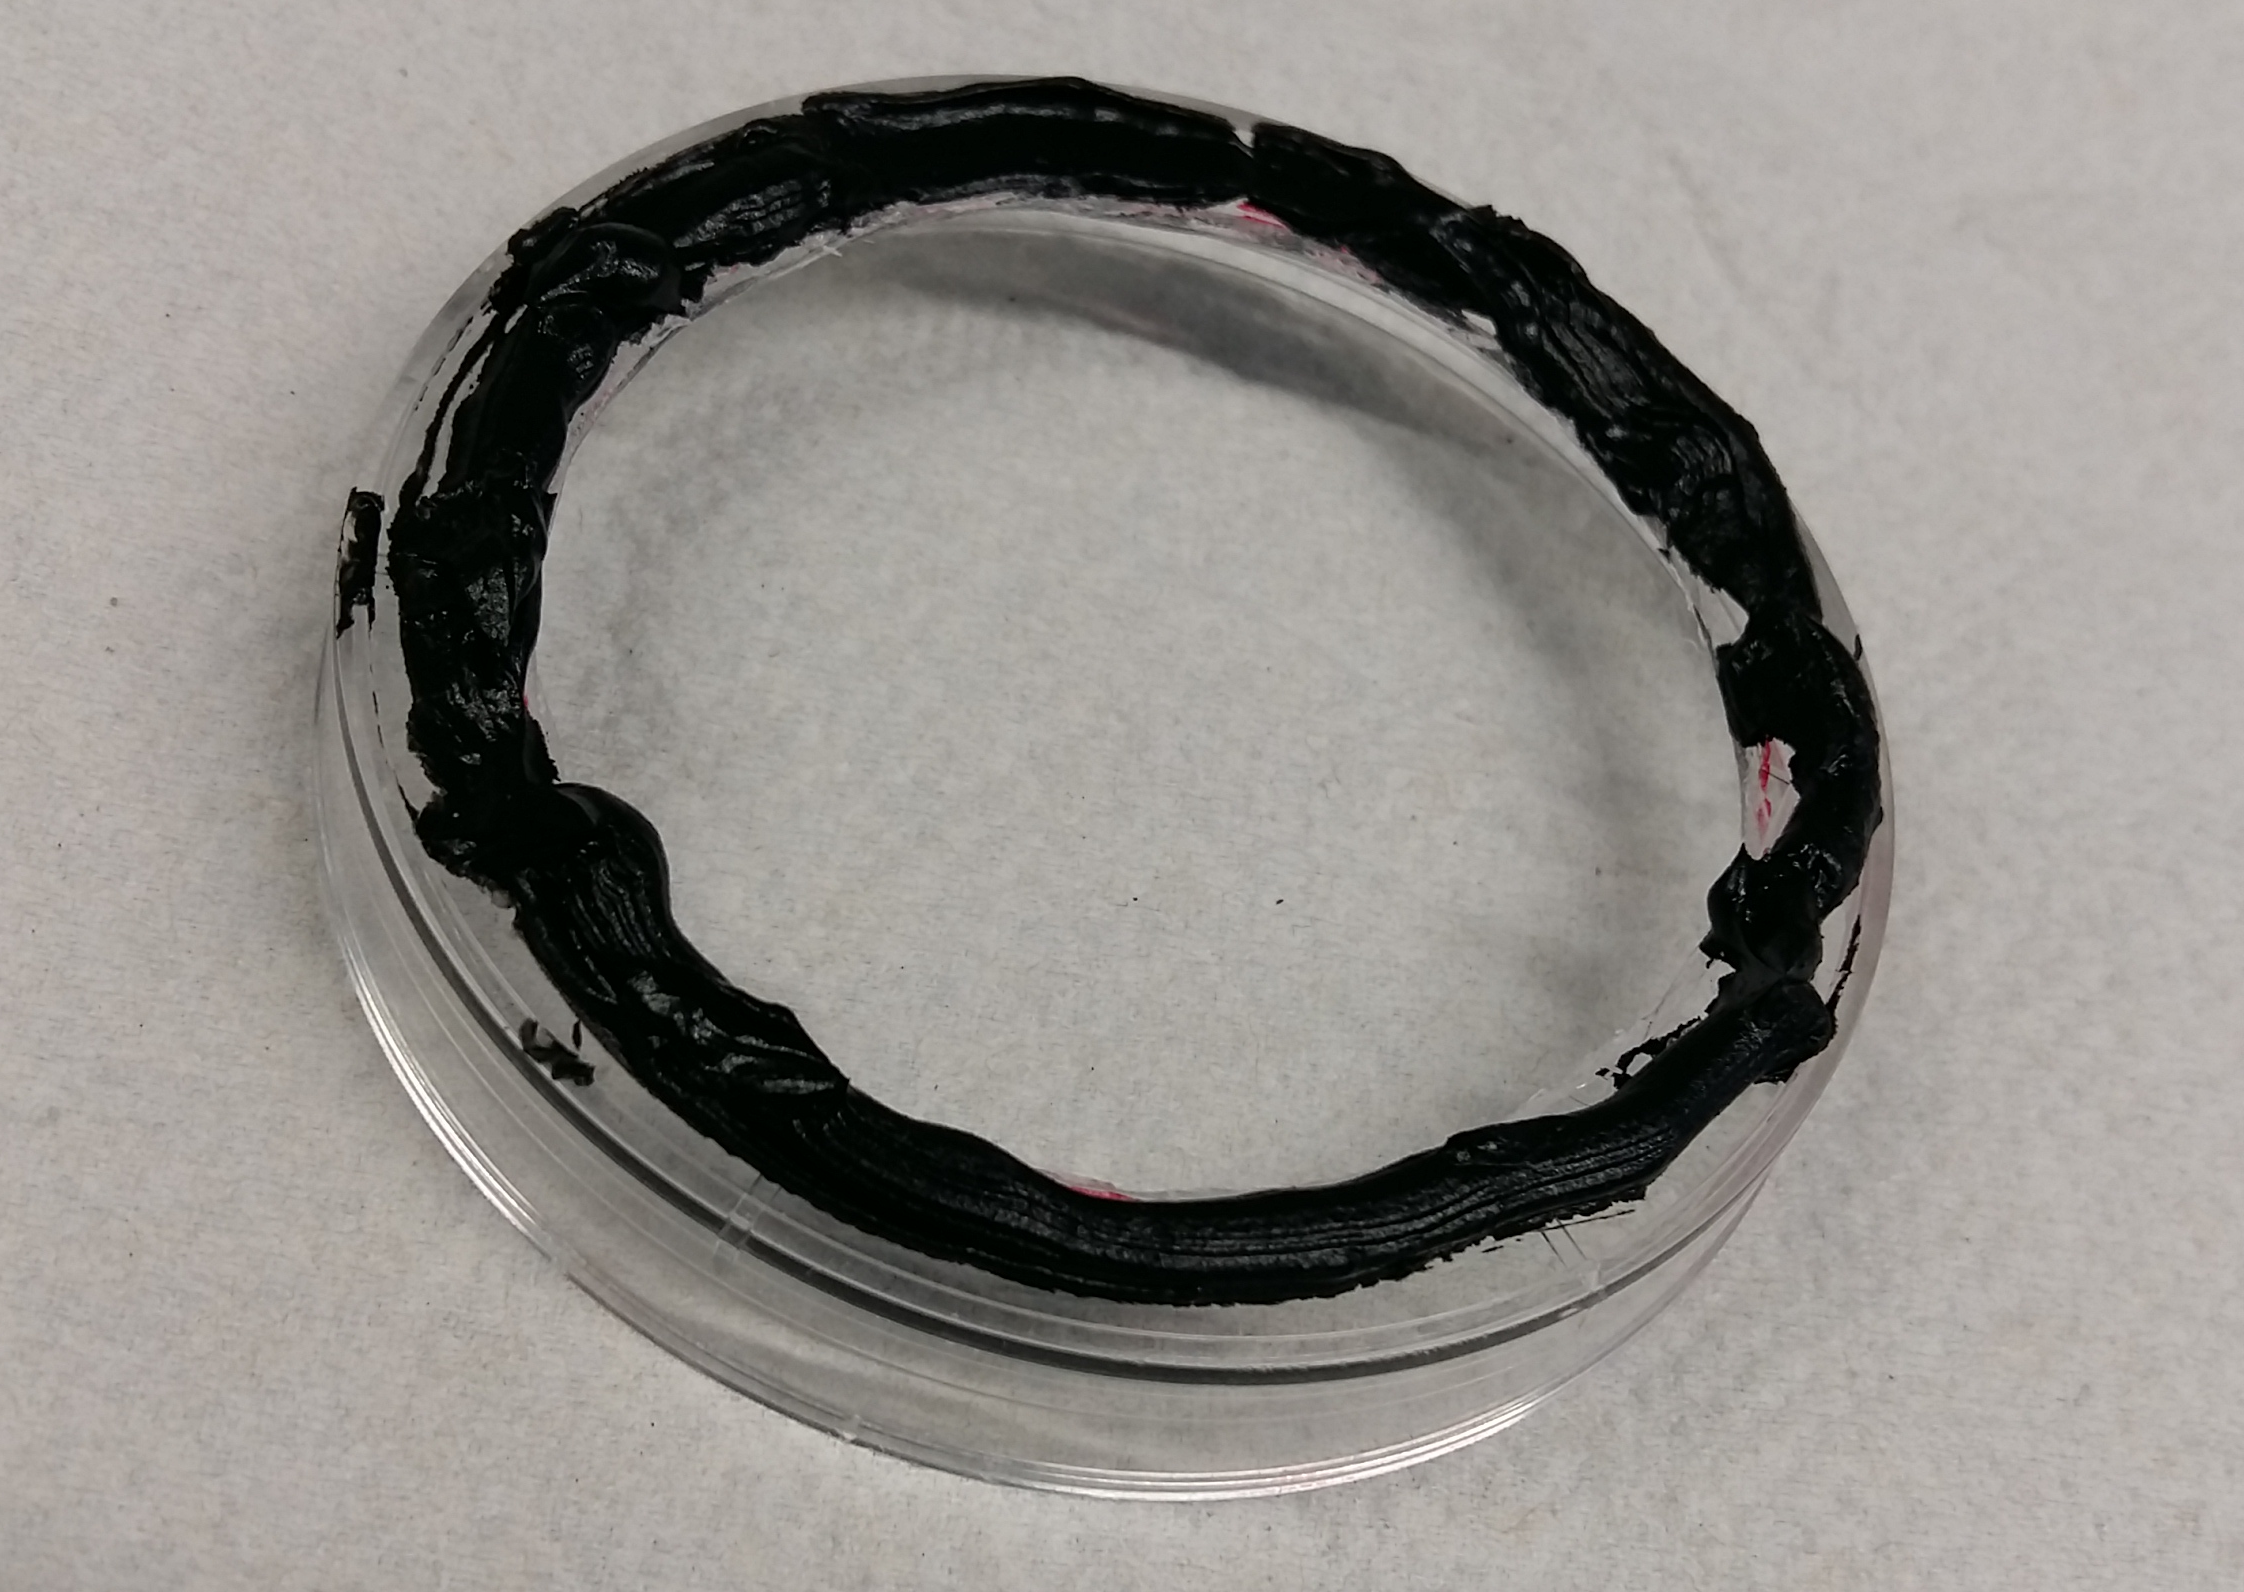
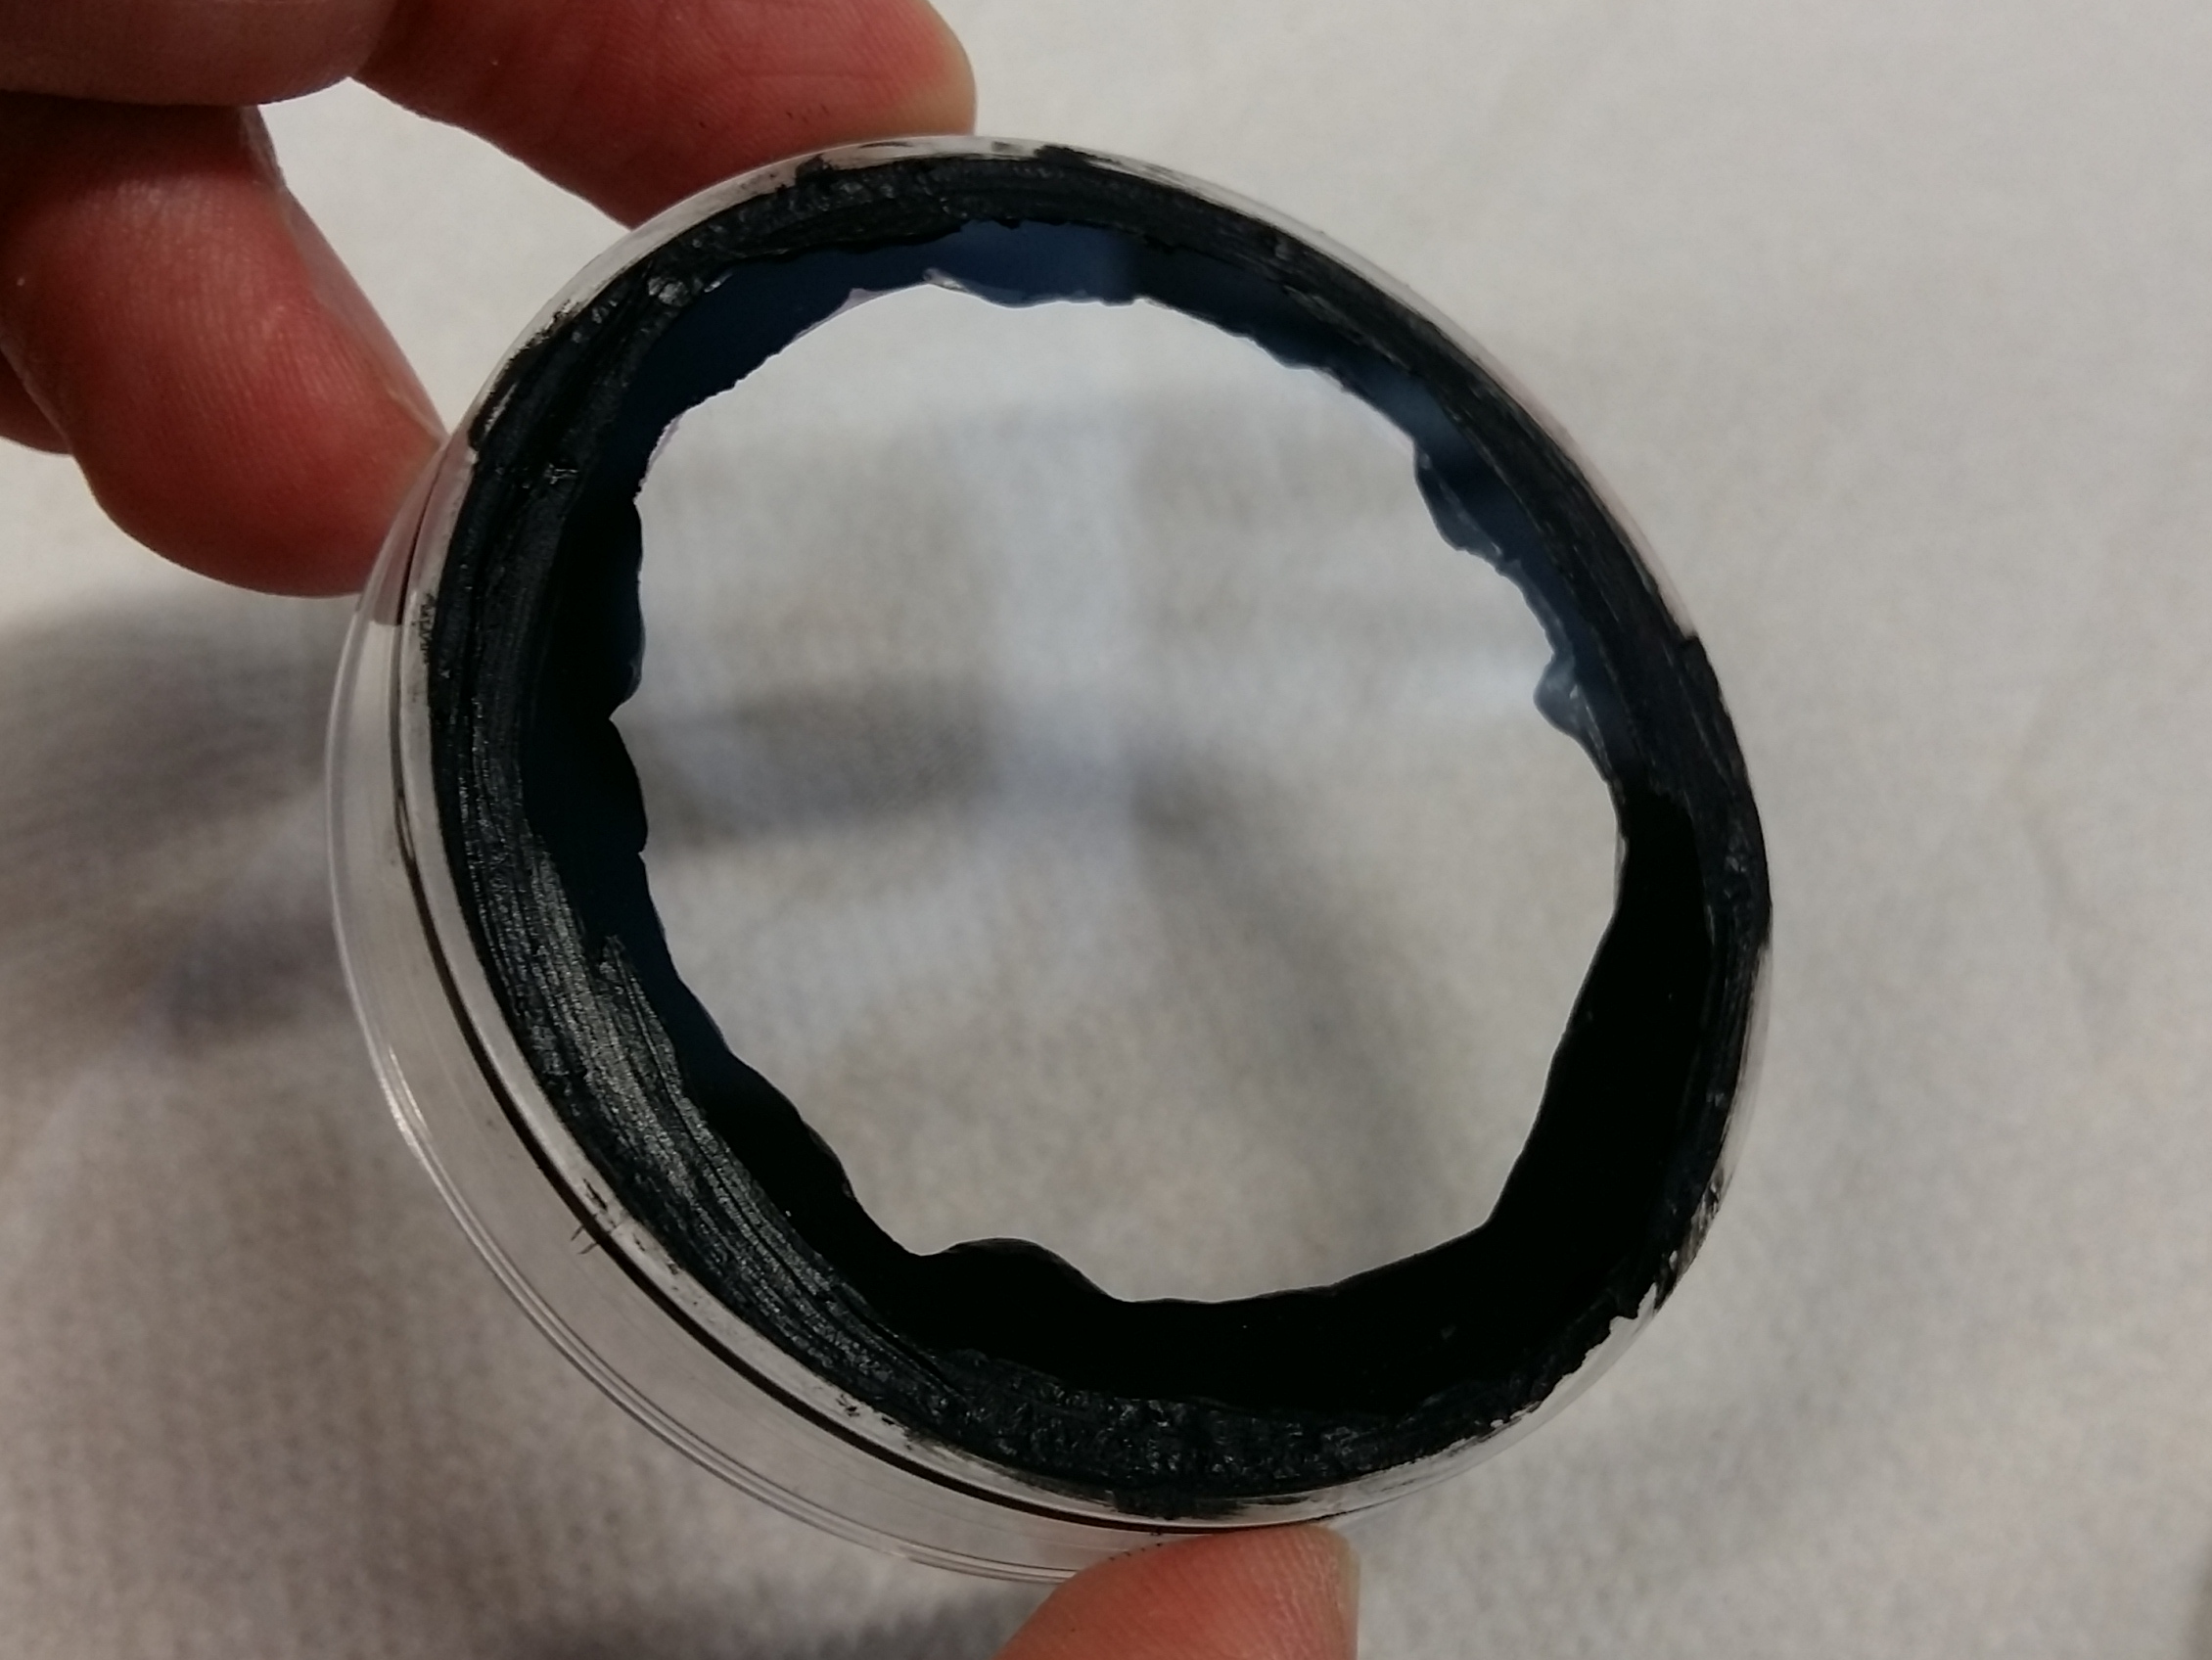
Glue the cover slip onto the underside of the bottom of the smaller petri dish using the silicone. For this , apply a ring of silicone and press the cover slip gently on top of it, so that a broad contact emerges between the cover slip and the silicone. Remove superstitious silicone without getting silicone onto the critical area of the cover slip.
Step 5
Apply a ring of silicone on the underside of the larger petri dish next to the opening and then place the small petri dish onto it. Seal the connection between the two petri dishes (you may need to apply more silicone). Let the whole object dry over night and test whether it is really waterproof or small leakages have to be sealed with silicone.